So, I ordered my second part from Vans so that I can do it over. Vans should change this to make it right. I am not too happy about needing to replace a part because their plans and instructions are incorrect. Oh well, it happens sometimes. Just have to do what you ahve to do to fix it.

Now for the second fiasco - this one was all my doing. Instructions from Vans say to enlargen a 1/8 inch hole to 3/8 inches in the forward flange of the bottom rib for the rudder frame using a unibit. This hole is one of several holes in several different parts that all align to provide access for the bottom rod end bearing (hinge) to insert into a plate nut on the very back of the last part in the assembly. Again, a nut plate is similar to a blind nut. It has two attach points on either side for rivets to hold it in place, and the middle is sized and threaded to accept the proper sized screw or bolt. The trick is that this hole, when finished, is already very close to the edge of the flange on the rib if done properly. If you don't get it just right, it will be off center and too close to the edge when you are done. (Exactly what I did!) Pics are worth a thousand words.
First, how many clamps does it take to build an airplane? Answer: ALOT! I rigged up what I thought to be a very cool clamped assembly to ensure that I would get this hole drilled right. Click on the pic to make it larger to see the detail. The hole I am drilling is the one in between the two pieces of wood in the front.

The pic below is a side view. Shows my backer piece of wood in place to keep the metal from bending as the drill bit penetrates the metal.


A pic of the notorious unibit. Starts at 1/4 inch and gets larger from there. It is basically a step drill with multiple dimensions. You simply keep pushing the drill forward to make larger holes as shown by the scale on the inside.

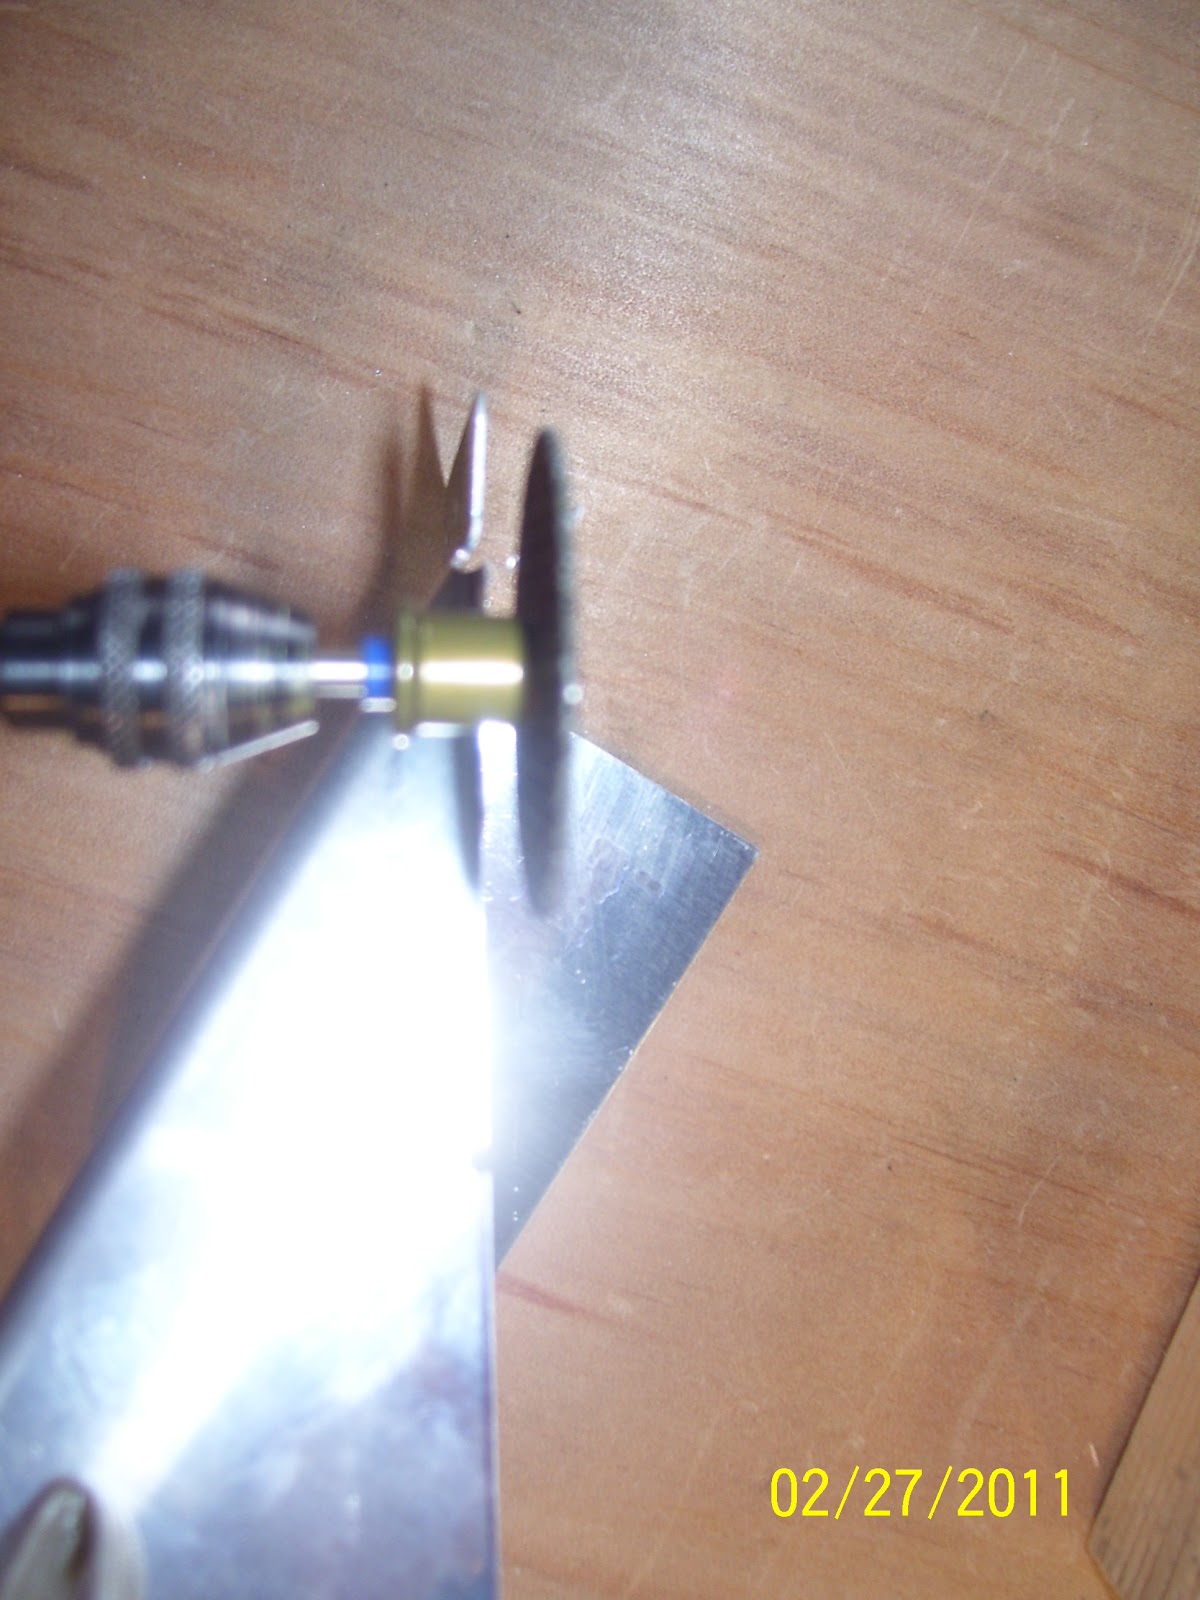
Below is a trick I learned on VAF. You mark the location of the drill for the correct sized hole with a sharpie to make it easier to tell when you have drilled the desired hole size.

And here we have the messed up final hole, which is a bit to large since I went too deep anyway, and also because I did not pilot drill this hole to at least 1/4 inch using a normal drill bit first, before using the unibit to finish the hole. First shot shows the hole in the flange of the rib by itself, and how terribly close it is to the edge of the flange. The next shot shows the rib assembled with the other parts, and how the hole is mis-aligned with the other holes in the other parts.


So I got to order another part - Whooopieeeee! A new bottom rib for the rudder is also on its way today. Luckily they had not shipped my other order from yesterday yet, so I was able to add the rib to that order and save some additional shipping charges. Rest assured, when the new rib arrives, I will be using standard drill bits to enlargen the pilot hole before I even think about using the unibit to finish it. The other thing I will do is ensure that the unibit is in an adjustable speed drill that will turn very slowly. Going fast with a unibit is a disaster waiting to happen in my opinion. Hopefully the next several days spent working on the frame of the rudder will go much smoother, once I get the replacement parts.
KPR, and if any of you followers or visitors are also building or thinking about building one of these great airplanes, please learn from these posts, and don't make the same mistakes!
Bryan,
ReplyDeleteLove your website! I really need to get mine going too. I'm currently still setting up my shop and my emp kit already arrived! Right now, it's all over the place in my basement. I really need to get organized! ;)
Mike (ppilotmike)
Thanks for the kind words and for chiming in Mike - exciting times getting that first kit! Just remember to make your shop work for you, and not the way that it might work for someone else.
ReplyDeleteThe other piece of advice I might give is to be prepared to make adjustments to your work space along the way, and don't try to make it perfect before you start working on the tail.
I'll be glad to help out any time ( except of course when I am busy slamming my own rivets.)