I removed the top outboard wing skin of the left wing and began the process of stripping the vinyl. After the drilling is over you kind of start to dread the deburring part a bit because this must be done on both sides of the skin. SO there are a total of 8 separate wing skins for the top and bottom of both wings(4 per wing), but you have to debur holes on both sides, so that is all the holes on each wing skin times 2 for the front and back. Then you have to debur the holes in the rib and spar flanges - again that is also both sides of each of those. If you focus too much on the large number of holes then you can become overwhelmed sometimes, so it is best just to get started and see how long it takes to get through a certain number of them. Then you will know how long it will take to do the rest of them. When the time comes dimple the skins I will take my time to ensure that I do not create any figure 8 holes in the skins.
Anyway, here is one side of one wing skin with the vinyl removed. The new soldering iron worked much better, but it was not perfect:
Next is another important pic. When you remove the skins, you realize just how much material was removed during the match drilling exercise. The silver speckles are the chips of aluminum. These all need to be removed.
And then I took this pic of my makeshift movie night movie screen. It was such a nice weekend after having been such horrible weather around here for the past several weeks that I just felt compelled to get out the king size bed sheet and use some of my clamps for something other than mashing metal parts together. I rig a projector on the opposite end of the garage and connect that to my laptop to show some movies every once in a while. Works pretty well. My seating capacity in the garage is a bit reduced with both wings on the stands, but it still holds a few folks.

Next are some pics I promised a while back. Thanks to John Tedder and Lyn Langer whose RV-7As are well on their way to becoming real flying machines. I am really interested in Lyn's aircraft because he has a 180 HP IO-360 from Superior with their extremely popular Millineum Cylinders. I just noticed on their website that they have come out with a 195 and 200 HP version that I can build myself by attending their 2 week class. I took a ton of pics but will include a few of them here.
Here is Lyn's engine:
And the rest of the aircraft. I can't wait until mine is looking like this someday:
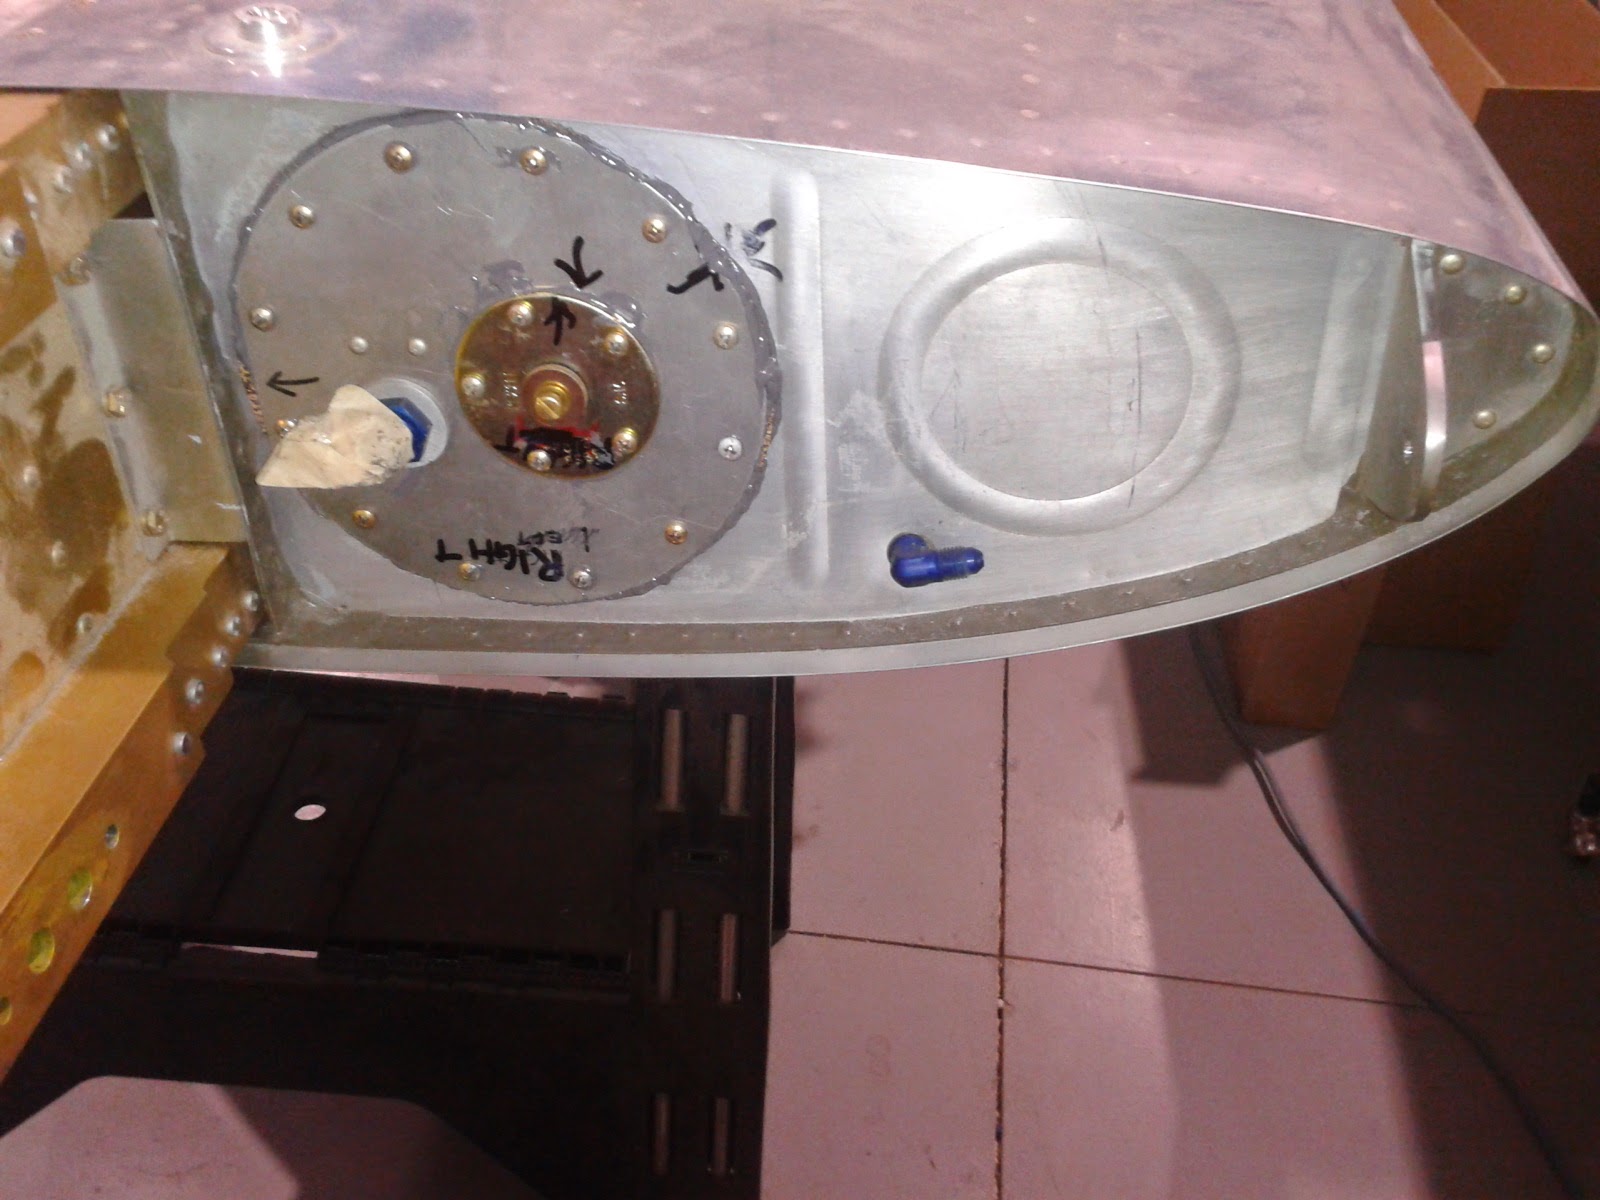
John had his wings off while he works on his avionics. I checked out his wing wiring, fuel tanks, and landing light installation....
NOthing beats seeing things assembled up close. If you get these opportunities you need to take tons of pics because they will help later. I captured most of Lyn's fuel system routing from the firewall to the fuel servo to the injector manifold and out to the cylinders. Perhaps I'll post some of those pics later on.
All for now. I hope to have all wing skin and rib holes deburred by the end of this week.


No comments:
Post a Comment