Anyway, I managed to summon enought strength to do a little work on the bird tonight. Except for a touch up coat of primer, the riblet and the elevator skin rivet holes were drilled, dimpled, and prepped for the MK319BS pop rivets that will need to be used to attach it to the elevator.
I finally committed to marking and drilling the holes for the riblet. Marked the first hole wigh the center punch at the intersection of the sharpe lines I had drawn that mark the hole locations in the riblet (or so I hoped). I decided to simply work the drill bit by hand without running it with the compressor. It does not take long for the drill bit to penetrate the thin .020 aluminum skin of the elevator. I did it this way to verify that the holes were in fact lining up correctly with the riblet under the skin. Luckily this turned out to be a non-event. All the holes I drilled were pretty much spot on, and the riblet web aligns almost perfectly with the ends of the skin edges of the elevator.
Once the holes were drilled I needed to debure and dimple all of them. This requires 6 rivets - 3 on the top and 3 on the bottom, and uses the existing holes from the original practivce kit rib from which it was fabricated. I was able to use my standard dimple dies and 3 inch yoke in the squeezer to dimple the first hole closest to the spar edge of the elevator, but had to use the close quarter tool to get to the remaining four holes because the opening was not large enought to fit the yoke in side to set the dimples.
Here is one of the leading edge holes dimpled with the squeezer:
Then I had to get creative again. I needed to support the entire elevator in such a way that I could slide the skin over the close quarter dimple tool so I could slam the remaining dimples with the rivet gun. This setup required the use of a 2x4, clamps, and two chairs, one of which was replaced by my son who graciously came out to help me once again. In previous posts at the beginning of the left elevator build I needed to use some 2x4s to dimple several other holes in the skin. I used the same 2x4 adn had to place the close quarter tool on either side of it to provide the necessary clearance for the holes on both sides of the elevator skin. The 2x4 was needed to extend the tool out from the edge of the table far enough to clear the remaining portions of the elevator.


The last shot above shows the tool on one side of the 2x4. When I flipped the elevator over to dimple the holes on the other side I had to move the tool to the other side of the 2x4 to maintain clearance from the rest of the elevator, which tends to get in the way.
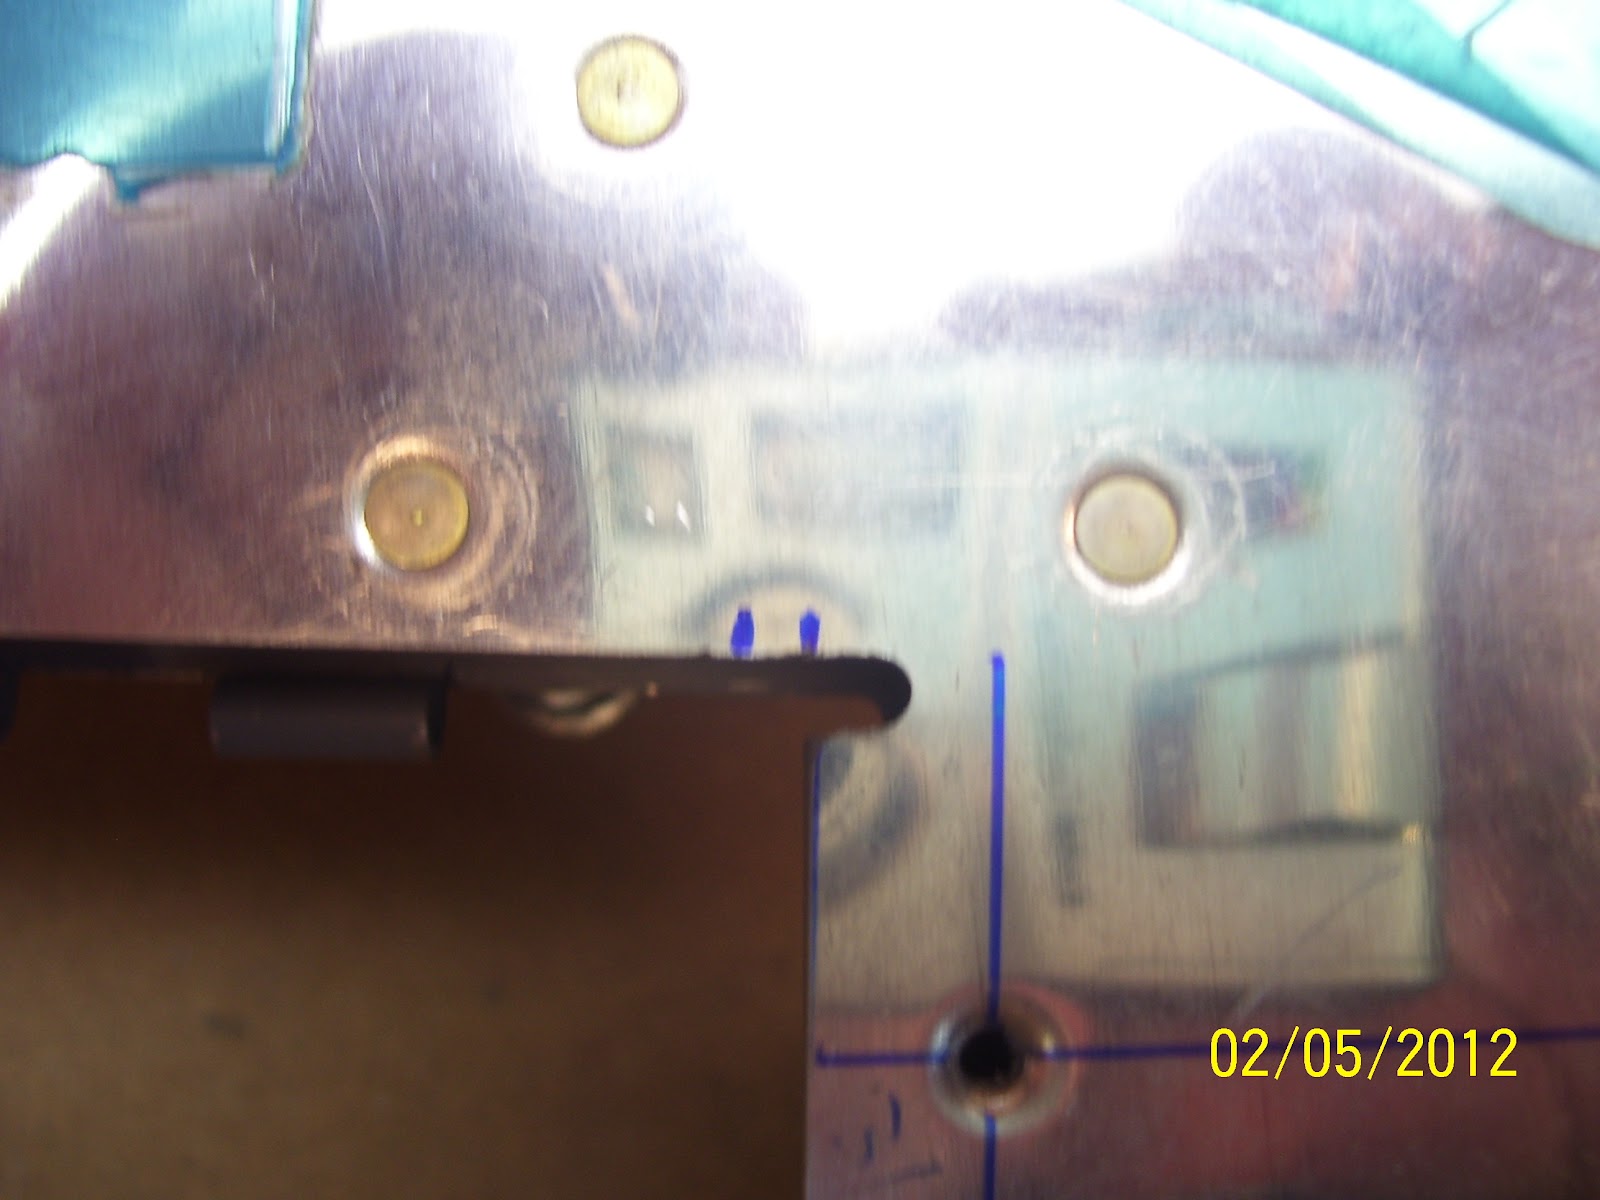
Riblet in place after all the holes in both the elevator and the riblet were dimpled:

All riblet holes on one side nicely dimpled.


More snow in the forecast for tomorrow. Just another day in Colorado in the winter time......
No comments:
Post a Comment