I thought this day would never come. I started assembling the horizontal stabilizer of my aircraft. The first step was to assemble the parts that make up the rear spar of the HS. These included two spar halves, two support brackets, and 5 hinges that will support the two elevators that make the plane move up and down. I thought that I was going to get to use my pneumatic squeezer on this assembly to same some riveting time, but I found that once again I did not seem to have the right tool for the job. The yoke on my squeezer was interfering with the flange on the spars, and this would not allow me to use it without grinding away some of the yoke.
Instead, I decided to pound these rivets using the rivet gun and a bucking bar. It had been a while since I had used them, and there are thousands more rivets that will require the use of these tools, so I decided to dive in and start riveting. I was doing fine until I got to one of the hinge brackets on the end of the right spar. As the picture shows, the rivet gun got a way from me a bit, and I did what is known as a smiley face all over the rivet head. Another rivet on the other side was noticeably out of place as well. So I needed to drill out these two rivets and start over.
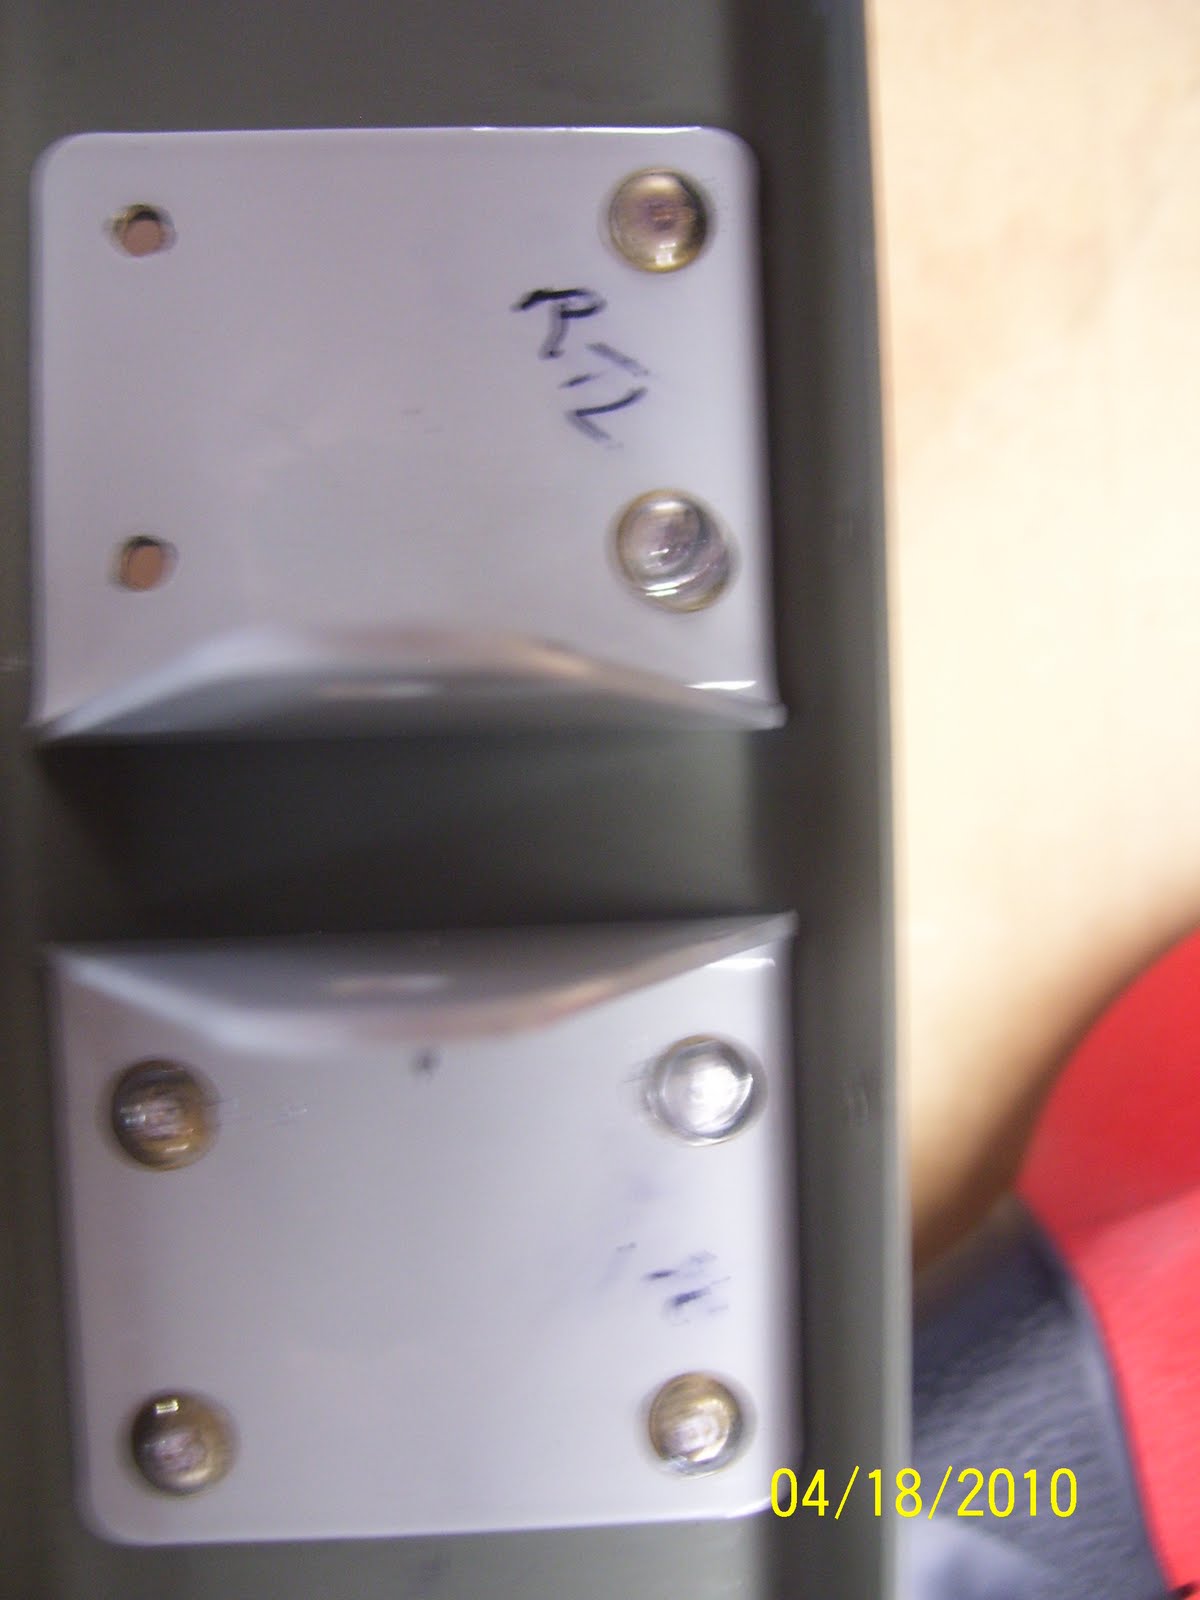
RTL stands for right Top Left, meaning that this is the outer elevator hinge bracket for the right side of the HS, that goes on the left side of the hinge assembly. Even more confusing is the fact that this pic will not transfer over correctly for some reason, and is shifted 90 degrees to the right. I found that I needed to mark everything correctly, because once you turn something upside down or backwards, you cannot tell which part goes where anymore.
If you look at the right side rivets, the two that are closet to the hinge point in the middle, you can see the difference between these rivets and the others that have been driven. these had to be drilled out and replaced, and although I was nervous about doing this, it actually worked out OK, and I drove two new rivets in their place that turned out just fine.
Hehe, your first smiley!! :) congratulations! Tip for drilling out rivets (which you will get good at, I did). Rivets come with a dimple on the factory head which works well for centering up your drill bit. But sometimes these dimples are non-existent or get mashed down...if so, use a center punch and make a new dimple. Have fun!
ReplyDelete