
So here I am again - seriously delinquent in posting my latest airplane building activities on the blog. Before I start ramping up on all that again, I wanted to take a moment to share a small remembrance of my second journey to EAA Airventure in Oshkosh, (or "SLOSHKOSH,"for reasons I will explain later) which just recently concluded.
The theme for this year's Airventure was A Salute to Veterans. Most of the activities on the grounds and during the daily airshows were geared toward honoring the service men and women and the military aircraft that have served our wonderful country for so many years now. The following is a story about something that happened to me up there that really made me reflect on the true meaning of this year's theme, and it has stuck with me ever since.
After arriving safely in Oshkosh and setting up the trailer for the week-long stay in Camp Scholler, I was experiencing some problems getting the car started, and ended up taking it into a shop that, fortunately for me, was only a couple of miles down the road. Long story short, they drove me back to the campground after I dropped the car off, and by the end of the day the car got a new battery and was ready to be picked up. The problem was that since it was the end of the day, noone was available to pick me up and take me back to the shop to pick up the car.
So I worked out an arrangement to walk to the shop from the campground and pick up the car. As I walked along the side of road, cars wizzing by me, I heard someone saying that it looked like I was in for a very long walk. I turned and saw an elderly gentleman dressed in a WWII Khaki uniform sitting in a chair next to an awning. Under the awning were several tables of WWII paraphernalia - helmets, M1 ammunition clips, dummy 20mm canon rounds, etc.
I stopped to look at the collection, and noticed that the signs that accompanied the display were promoting a WWII museum, which sat almost hidden from view of the road only 20 or 30 yards away. My first thought was that I was not even aware that this was out here - right next to the camp ground at Oshkosh. There was no advertisement, nor mention of this facilitity in any of the Airventure literature, and I found this quite odd, being that the theme for this year was supposed to be a salute to all veterans. In fact, this building and the car shop are the only other buildings on Poberezny road, on which I walking to pick up my car. If you were driving on the road you would miss this building since it sits just out of sight from the road.
I then continued to look at the items on the display table, and I noticed a back and white framed photo of a soldier in a tank crew uniform sitting on the gun of a German Tiger tank. The gentleman informed me that it was a picture of him in 1945, to which I asked, "So how is it that you came to sit on the gun of a perfectly healthy enemy tank?" He then told me that the war had just ended, and that if that had not been the case, the Germans might not have been very eager to allow him to sit on their tank. We both laughed as I acknowledged his response.
I then noticed another photo of Richard L. Bong and his wife Marge, sitting in the cockpit of his famed P-38 fighter. You have to understand that Dick Bong was one of the leading aces of the entire war in the pacific, and was also a Wisconsin Native. His aircraft also sits perfectly preserved at the EAA Museum, with Marge's picture painted clearly on the side, right next to the large number of Japanese flags that represent the number of aircraft he shot down. I had never seen this photo before, and as a devout WWII history buff, that is very unusual for me. The gentleman informed me that he had asked Marge if he could take the photo and blow it up larger than life for display in the Museum. She obliged him, and apparently he also came into possession of the original photo after Marge's passing just a couple of years ago.
I then mentioned to him that it was a shame that more people are not aware of this facility, while it sits in the shadow of all of the Airventure fanfair. I also told him I admired him for sitting in the hot sun to help promote the preservation of lessons and memories from what seems to be a long time ago now. He simply smiled, looked me in the eye, and replied "Well, that's OK, we are old and retired and have nothing better to do anyway."
He then offered me a drink of water, which I politely declined, thinking he most certainly needs it out here in the hot sun more than me. Then I shook his hand, and thanked him for his service to our country, and for sharing some of his history and memories with me. Then I wished him well with the museum and his efforts and continued on my way.
As I walked away something kept bugging me about what he said to me just moments earlier, that they were old and retired, and that he and his friends had nothing better to do anyway, and that people were too busy to remember all of those things that happened so long ago. It has been almost two weeks now and it has continued to bother me to the point where I felt that I just had to write this down. The thing that bothers me the most is that I failed to ask him his name, or to find out more about what unit he served with and where he served, because I was too busy trying to get my car back.
So, I guess the only thing I can do at this point is to make this blind statement in response to his comments, and hope that he and all of his brothers and sisters who sacrificed everything for which we should all be so eternally greatful will somehow hear and appreciate these words:
I will ALWAYS remember, and I will ALWAYS care about everything that was done by all those who have ensured the freedoms that I am able experience today - -freedom to build and fly my own airplane; freedom to live in a country free of tyranny and oppression; and freedom to share my experiences with those that I consider to be my friends, and to have them share their experiences with me - -even from those whose names I will never know, or that I have long since forgotten.
That is my personal Salute to Veterans, and a memory that I will cherish for the rest of my days. You just never know what will happen when you go to Oshkosh to experience Airventure!
Thursday, August 5, 2010

Saturday, May 22, 2010
Repair done on Wednesday, May 19, 2010

Ron Duren to the rescue (Again). He graciously accepted my invitation to drive to my house to buck 4 rivets to finish the repair work that took me most of the week to complete. He handled the bucking bar (left hand), while I drove the rivet gun (right hand). Notice the cool EAA T shirt that defines a pilot, and, yes, the wing parts still in the crates in the back ground - still working on that project.

And the finished task - 4 nicely set rivets, 2 on each side of the repair flange. Although standard aluminum patch practices may call for at least one more rivet on the spar-side of the repair, I stuck with 2 rivets on each side. The reasoning is that the skin is providing support with all the rivets that are attaching it to the spar and to the rib, so I think that there is adequate support in this area. I used an offset dome headed cup set for the rivets that attach the new flange to the spar web, which is about 5 inches longer than the normal cup set I would use for AN470 structural dome headed rivets. This allowed sufficient clearance of the rivet gun from the skins so that they would not get all banged up during the riveting process. Note that the repair was placed on the forward side of the spar web, and not the back, although when I marked the holes for the location of the rivets, I had it placed on the aft side of the spar web. This was because this was the only side that I could fit a straight drill bit (used a 12 inch extended number 30 drill bit to drill the holes.) Yes, I could have used my angle drill attachment to drill the holes from the other side, but I find this tool to be very inaccurate in terms of being able to drill a nice, straight hole, unless you can slap it in a vise to keep it from moving. So I opted to drill from the back side using a longer drill bit, and it worked out pretty well that way.

And from the other side - 2 more nicely set rivets, all in the original holes of the new rib that arrived from Van's "just in time." For some reason we had a little difficulty with the holes in the repair piece lining up with the holes in the rib after the piece was riveted to the
spar. This was strange to me because everthing had clecoed together perfectly before we started riveting. If I had one thing to do differently about this repair (hopefully I will not have to do this again but...) I would not match drill the holes in the rib to the repair piece until AFTER I riveted the part to the spar web. What I did this time was match drilled the rib holes to the repair piece after clecoeing the piece to the spar, but BEFORE it was riveted to the spar. If I would have waited until after I riveted the piece to the spar flange to drill the holes for the rib attach points, they would have lined up perfectly, which caused the mis-alignment of the holes on the other side. I can only guess that the act of riving the rivets to attach it to the spar pulled everything up tightLesson learned, but hopefully will not need to be repeated! Whew, that was a lot of work! But at least its done, and so is the HS riveting, for the most part. More on the finishing touches later.... Thanks again Ron for all the help.
HS repair cont'd

Another blurry pic. Shows progress with th nibbler. The only draw back is that you cannot control the precision of each cut very well, so some are deeper than others. Here you can see some of the little pieces that have to be nibbled away - almost there...
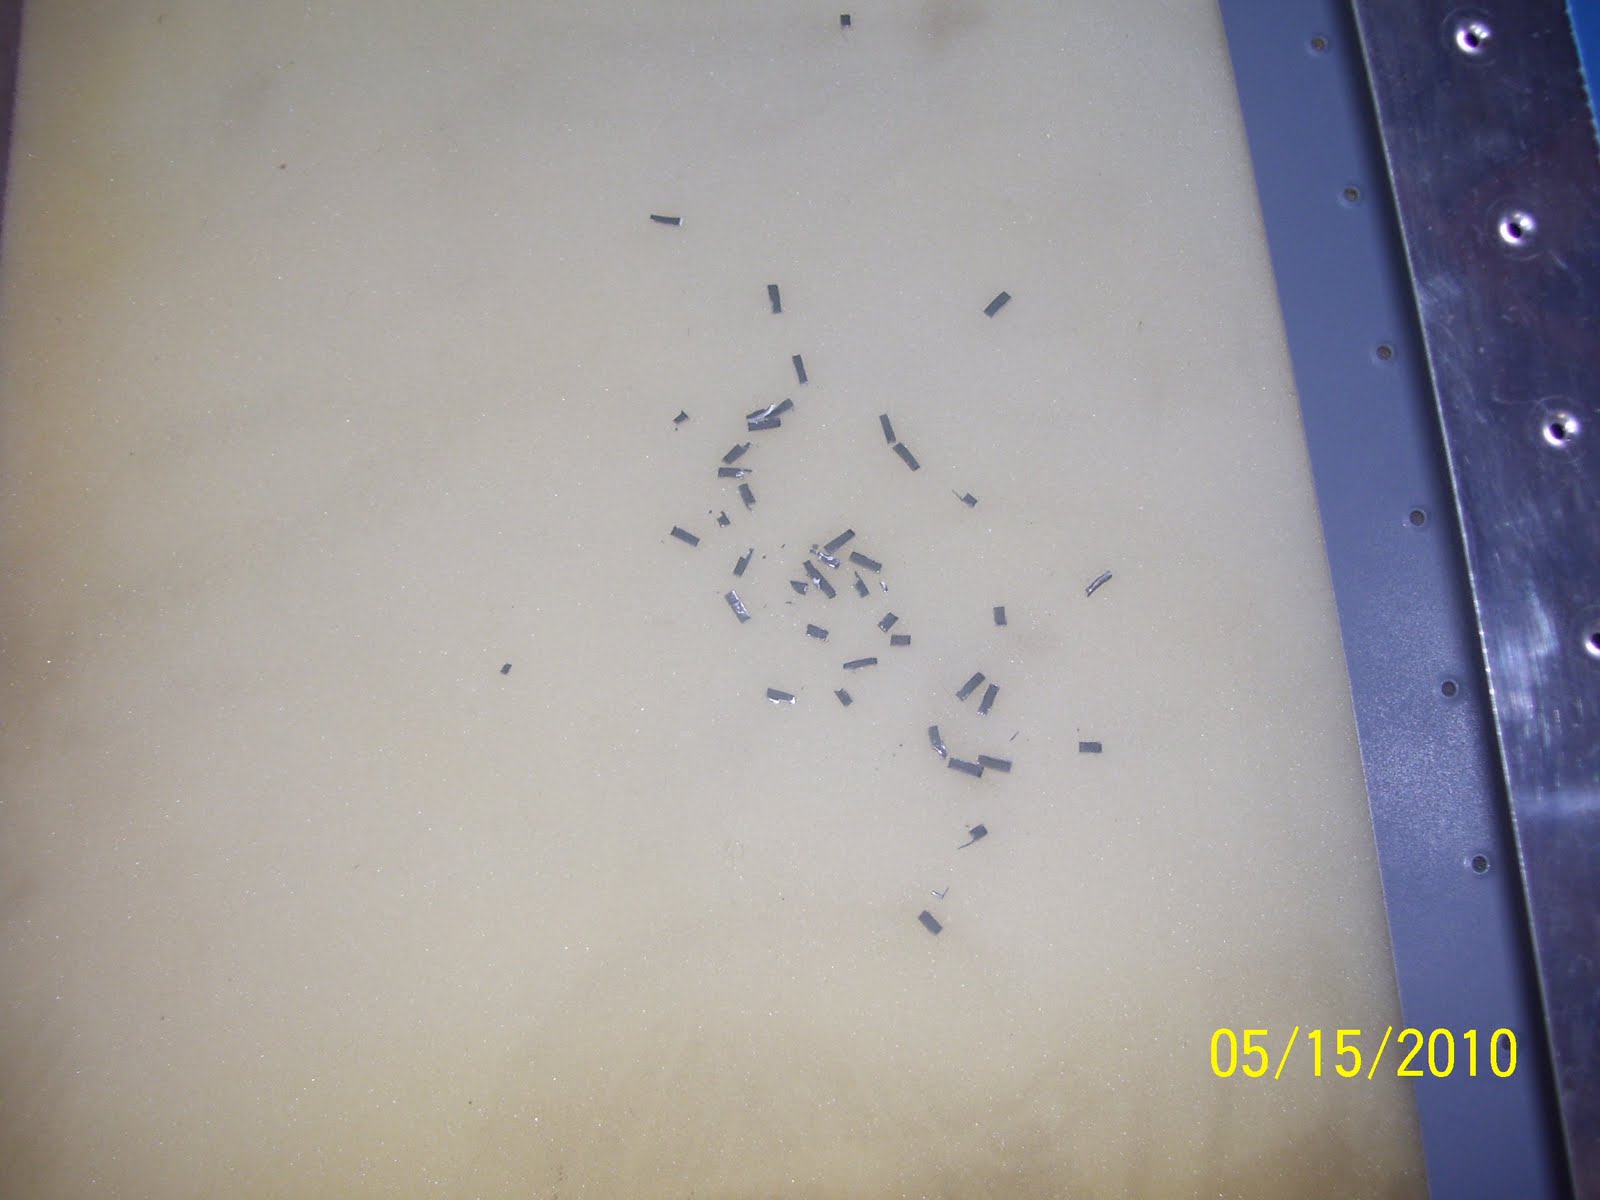
For anyone with experience in such matters, no this is not mouse poop, even though it looks like it from a distance. Believe, me, unfortunately I know what mouse poop looks like! No sign of them in the last 8 months or so, so that's a good thing. These are the remnants of the metal removed from the flange by the nibbler.

The business end of the nibbler in its non-cuttting state

Now in the cutting position. It generally will remove about 1/8 inch of material by about 1/4 inch with each cut.

The end result after nibbling and grinding the edge to a smooth edge with no burs. You can also see the marks I have made on the spar flange when trial fitting the new flange in place. That was a lot of fun by the way, because I had to use 3 hands and some tape to hold everything into place. Then I had to fit my sharpee in there to draw some reference lines and mark the hole locations in the spar web. All the trial fitting had to be done with the end rib clecoed in place. Needless to say, since I was the only one present during this delicate balancing act, I have no pics of the part taped into place during this operation.

Another shot showing the degree to which the flange was trimmed. I only cut enough to remove the bend, leaving as much of the straight part of the spar web in tact. All of the metal dust and chips from drilling/nibbling were cleaned out of the areas as well. You don't want any of this material settling into the crack and crevaces where they can start to fatigue the metal between the spar and the skin over time. Everything was spic and span before closing it all up, hopefully for the last time.
Repair of HS Tip - Hobbs 140 hours

So the repair process began. All through last week, and ending with Ron coming over to help me buck the 4 critical structural rivets for the flange repair and the re-attachment of the end rib to the HS. A series of pics of the process follows:
A bit blurry - did I ever say how much I don't like digital cameras, except that you did get instant electronic pictures I guess. This shows the top hole that was also drilled through. This entire flange had to be cut and trimmed away, and a replacement flange fabricated and riveted in its place.

Just some of the many tools used to complete this repair, and a shot of the more or less finished part that I had to cut, bend, and drill. The wood form block is the same one from earlier posts where a 1/8 inch radius bend was required. The angle finder was used to verify that the bend was exactly 84 degrees to match the angle from the forward spar to the side of the end rib where everything attaches, resulting in a 6 degree angle, or the same angle that the roots of the spars and the support angle brackets were bent to long ago. The two holes have been measured and drilled to assure proper edge distance requirements are met. Other tools used were a nibbler, my dremel grinding wheels and articulating saw attachments, metal cutting saw blades, and more.....

Another bad pic - attempting to show the angle and how the part was positioned between the two blocks during the forming process

Fitting and sizing up the side that fits up against the inside of the rib. You can see the relationship of the rib holes to the flange. These are the two remaining holes that have to be drilled. The plan is to rivet the new flange to the spar first, then fit the new end rib into place, and use the existing holes in the rib as a guide to match drill the holes into the other side of the flange.

Shows the plastic hammer I used and the form blocks and the aluminum part in the vise and being formed. Just had to eyeball this a bit and make sure that I did not force the bend over the 84 degree mark. This is actually very easy to do, and my guess-timate was very close to where it needed to be - I was only about a half degree off. You just start tapping the hammer at the base of the bend and it starts to fold right over.
 Shows the part up against the angle finder - 6 degrees - with a 1/8 inch radius - just as it should be.
Now for the other difficult part of the fix - how to trim off the damaged flange from the spar. Lots of measuring involved here - not to mention trying to decide what tool/method to use to remove the flange. The trick was to remove only enough material that would not compromise edge distance on the spar web, which meant only trimming off enough material right up to where the bend occurs, without removing any material running the length of spar web, if that makes sense. Then ensuring that it is straight and free from burs, all within the confines of a skin that is already riveted in place on the spar top and bottom. Dremel cutting wheel was out of the question - too much risk of skipping and cutting into the skin, causing even more problems. Hack saw was another possible solution - but it would have to be done by hand. In the end, as shown in the pic, I chose the nibbler (man I love this tool!) I could cut small chunks out at a time, with fairly precise control over the amount of material being removed. Yup, that's my fat hand in the foreground, next to the small opening at the end of the HS.
Wednesday, May 12, 2010
Good News/Bad News
So I was able to transport my almost-complete HS up to Erie Airport past Saturday, where one of the EAA chapters I belong to, Chapter 43, was having a hangar picnic. Lots of great food and great company. There were not one, but two completed RV 10s in the hangars, and so I spent a fair amount of time gawking at them, and drueling with envy at how big and roomy this home built airplane is. I met with a tech counselor, Bill Truax, who looked over the damage to my wing skin and basically told me that it could be filled, won't ever crack, and basically told me not to worry about it, and to KPR (keep pounding rivets). That was the good news.
Now for the bad news. Later that evening, after getting the HS back home, I should have simply started closing up the rear spar and the ends and called it good. Instead, there was one rivet that attaches the end rib on the right side that did not quite get set as well as I would have liked. So I thought that I would drill out this rivet and and replace it, and then finish everything up after that. the first removal went without incident, but the attempt to reset the rivet resulted in a very badly set rivet, so I made the decision to drill it out as well, and try again. As the following picture shows, my drill slipped and I ended up drilling a new hole right through the end rib and into the spar flange that it was attached to. I then had to get creative with a pair of needle nosed pliers in order to snip away at the remaining rivet head in order to get it loose enough to remove. It did not matter, though, since the damage was already done.

A phone call to Vans yesterday, followed by a comfirming phone call to EAA HQ tech counselors today, resulted in a recommendation to:
a. Completely cut away the portion of the forward spar flange that connects to the end rib (not shown in this pic but I will add other pics as I affect this repair.)
b. fabricate a new flange part for the end of the forward spar that will need to be riveted onto the end of the web of the forward spar
c. Order a new end rib (done today), locate and final drill all the holes, debur it, dimple the holes, flute the edges, and prime it. Then finally try to rivet it in place once again.
Obviously this will set me back a bit from finishing the HS, having learned yet another very important set of lessons in the process. I'm sure this will not be the last time I have to figure out how to affect a repair like this, but, needless to say, I am very disappointed in myself right now, and in hindsight I should have left well enough alone. That said, you just have to press on when things like this happen, and realize that problems like these can still be resolved, albeit with a bit of extra effort.
The fabrication will take me some time to complete, because there are some precise measurements that have to be made for the correct size of the repalcement piece, and an 84 degree bend that needs to be made to properly line of with the web of the end rib. Lots of cutting, clamping, and drilling to do. Looks like the dimensions needed to fabricate the part are to use .032 inch thick alclad aluminum, and both sides of the piece will need to be about 1.5 inches long x 1.5 inches wide. The real dimension turns out to be about 1.65 inches x 1.39 inches in order to achieve flanges that are 3/4 of an inch wide on both sides. Bending metal is yet another specialized skill that one has to become familiar with, and it involves quite a bit of math skills and knowledge of metal properties in order to get it right. I won't bother listing out all the detailed formulas involved in figuring out the correct dimensions, except to say that I have spent most of my evening reviewing and calculating all of this. I figure this will set me back at least a week on the HS. Wish me luck I guess.
Friday, May 7, 2010
The whole HS assembly - almost there......

What a nice pic of an almost finish airplane part! I can't finish riveting the skins until I have a tech counselor look at my damaged skin this weekend. Hopfully the verdict will be that I can proceed without replacing the skin, and then I can finish attaching the rear spar, shown here clecoed into position. The remaining rivets can be squeezed instead of bucked - a welcome relief from all the bad rivets I had to drill out and replace thus far.
Riveting is definitely a skill that has to be practiced. Unfortunately, I am finding out that not even the courses that you take from EAA, or the project kits that you can work on, provide the same challenges that you experience on the real airplane parts. You have to learn how to feel the bucking bar, how to hold just right in many different positions, and how to hold the rivet gun, how to contort your body and hands into just the right position, and so on. It will definitely be a challenge when trying to do this on my own, but the good news is that the wing and fuselage parts are somewhat bigger, making them at least a little easier to work with.
Left Side HS Skin almost complete

With Ron's help, this is the bottom side of the left half of the HS, almost completely riveted together. The only thing remaining is to attached the other half of the stabilizer and then finish riveting the ends and the rear spar. The whole assembly turns out to be about 8 feet 4 inches long.
Subscribe to:
Posts (Atom)