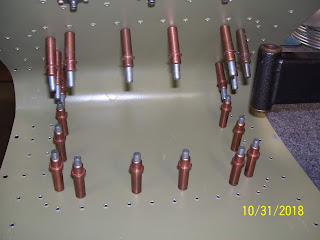
I did, however, cleco the K1100-8 nut plates onto the subskin so that could check the fit and position. I used a trick that I learned while fitting the fuel tank, where you can use a #30 clecoe through the #30 holes I drilled for each screw location, and the clecoe will just fit through the hole in the K1100 nutplate and secure it to the skin so that you can drill out the #40 holes for each of the two rivets used to attach the nutplate to the skin. I put each cleco on the inside of the subskin through each nut plate on the outer surface and adjusted the position of each one to check the initial fit and alignment. Here are the pics:
I'll need to clear off the bench and dimple table so I can take the LE skin and finish the remaining dimples on the perimeter skin #40 holes for the rivets, then drill the nut plate #40 rivet attach holes (2 per nut plate) in the subskin and deburr them, then figure out if I am going to dimple or countersink those #40 rivet attach holes for the nut plates, and proceed with that decision. Then comes cutting the metal out of the LE skin, making the edges nice and straight and smooth (except for the rounded 1/2 inch radiused corners), making the file folder template, marking screw hole locations on the new file folder template, fabricating the new removable section of the skin from .025 2024-T3 alclad aluminum-same as the LE skin (will probably make several "blanks" for this), match drill the #30 screw holes in the subskin and the removable section up to #19 for the #8 screws, deburring those holes, dimpling them for a #8 AN509-8R8 screw, and riveting the nut plates to the underside of the subskin. And then, after all that is done, I finally get to re-assemble and rivet all the LE parts together, and mount that damn thing permanently to the Left wing.
Yup, I can't lie, I'm just about out of patience with all the LE work I've had to do for this mod, but the truth is, this is just the beginning. I still have other fabrication work to do, not to mention a repeat of everything I have done up to this point for the right wing LE. But at least the work that remains to be done after the major metal work is finished will be the "fun" part of the reason why I started this mod in the first place. The delays resulting from all the "unknowns" when I started this mod will not exist for the right wing, since I supposedly now know how to do everything and the order in which to do it. And for the right wing LE I will not incur the delays that were caused by the stupid pre-cut access panel in the bottom of the left wing LE skin either. So things should go a bit quicker for the right wing LE mod - I hope!


No comments:
Post a Comment