
Next I set out to determine where to install the pitot tube. The builder is left with some decisions to make when deviating from the plans, but many folks have done this same thing prior to me so I am sure to make the right decision. One of the first decisions was deciding to keep the full length of the air lines extending from the pitot tube or not. They are too long to leave "as is" so you either have to bend them over or cut them down a bit. They also require you to flare the ends to accept the AN NPT hardware used to attach the colored lines from the SafeAir1 plumbing kit to the pitot tube.
UNfortunately I had never flared a metal tube in my life, so before I ruined the real thing, it was time to practice. I already puchased the Parker Rolo Flare Tool, and with te help of the instructions, I found some 3/16 inch OD aluminum tubing from K&S Engineering at the hobby shop to practice with. Although the OD diameter of the tubing is the same, the ID dimension is very different. The hobby shop tubing is very this walled - .014 inch thick aluminum, whereas the tubing on the pitot tube appears to be a bit thicker. Further research revealed that the hobby shop tubing is 3003 H14, while I think that the tubing they used for the pitot tube is 3003 0. Same alloy but a different hardness and thickness. The pitot tube appears to be a bout .025 inches thick.
My first attempt at flaring the ends "ended" in disaster - obviously I had to practice with this tool. It does not take much to create a good flare, ans since I was using tubing with a much thinner wall than the on the pitot tube, it was even more difficult to get a good flare without cracking the tubing. Here are some pics of my practice results after I finally got the hang of this tool:
First is pics of some tubing I found at Lowes airplane parts:


And next is the flaring tool. You have to purchase one similar to this because all aviation flares are made at 37 degrees. All automotive flaring tools are set to 45 degrees, and will not work with aviation-grade NPT plumbing hardware.


The above pic shows a locking flange in front of the hole where the tubing goes, butted up next to the business end of the tool that creates the flare as it is rotated inside the tubing. The locking flangen the left of the pic sets the correct depth of the tube by pushing the end of the tube until it hits this flange. Then, when the toll is locked into position, the locking flange slides out of the way of the flare bit, and you crank it down into the hole in the tube to create the flared end.
Here is a pic with the flange moved slightly out of the way:

And then finally the results of my practice attempts. The pics are blurry - could not correct that for some reason:


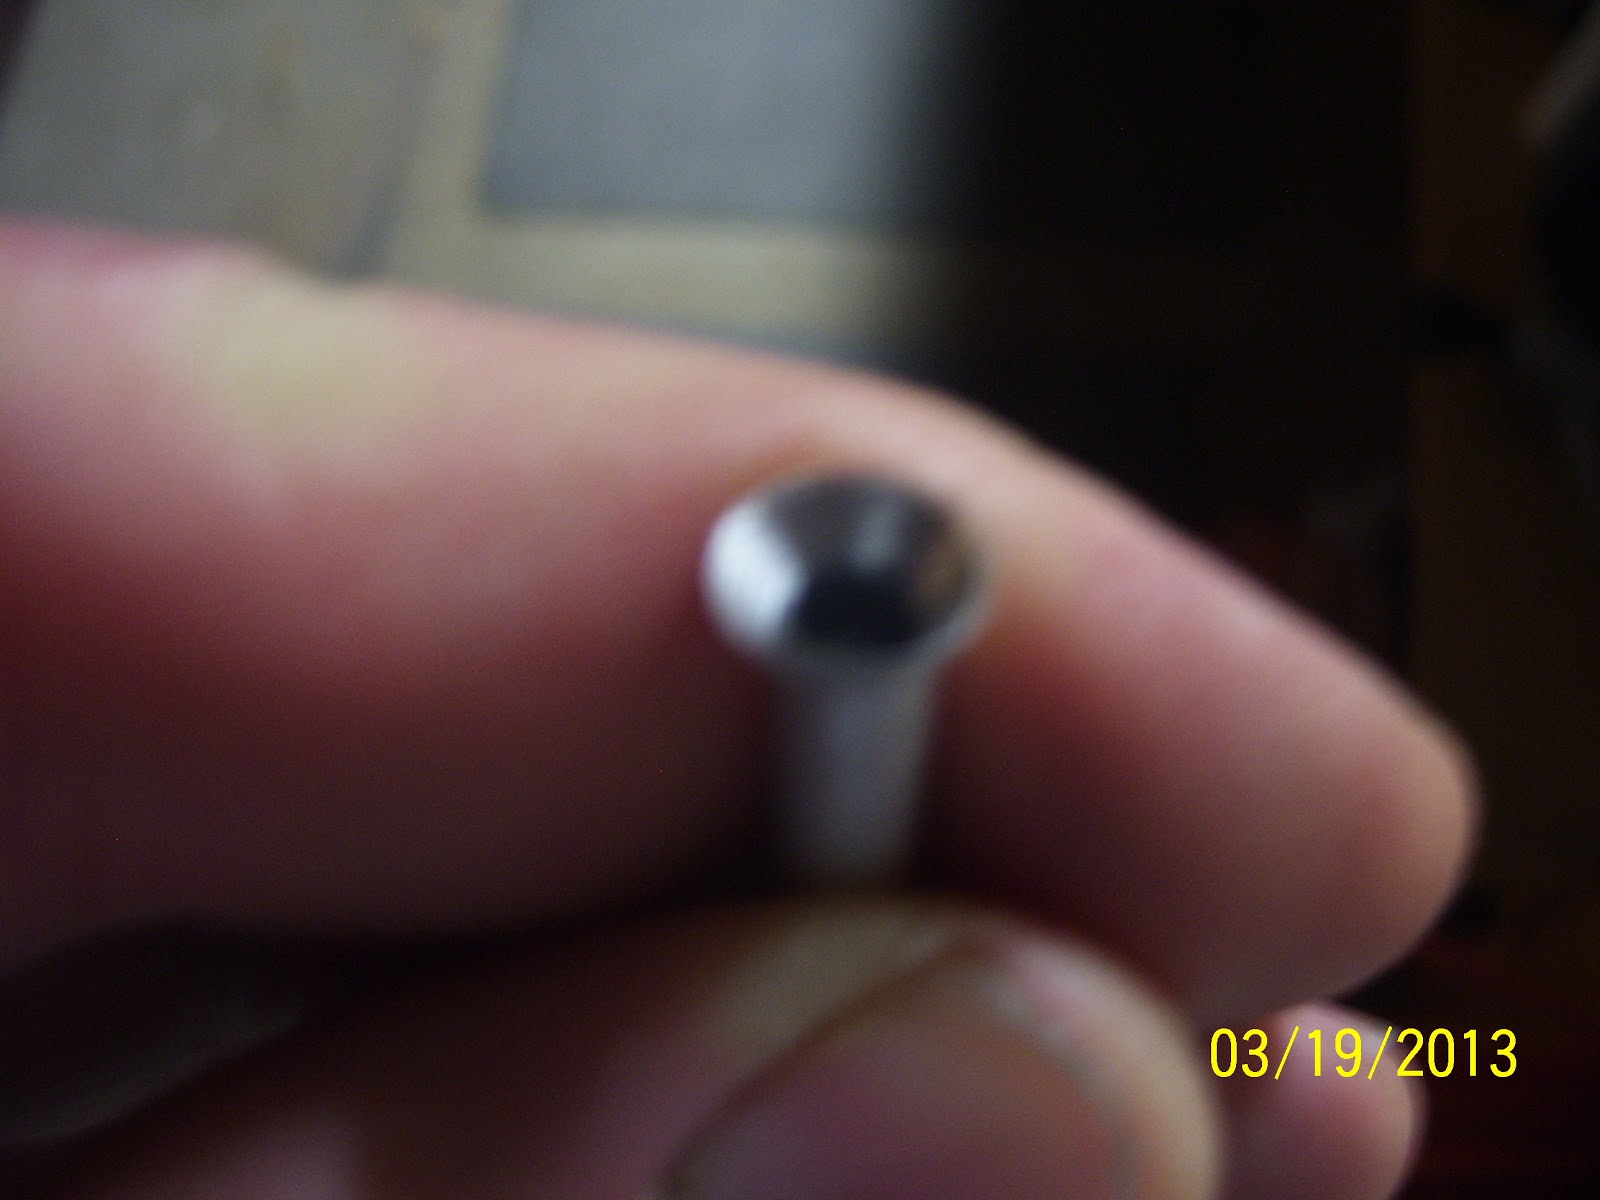


the last pic attempts to show some slight bumps on the outside edges of the flare. These were caused by the separation of the top and bottom dies, which are split in the middle. I am not sure if this means that I need to tighten down the dies a bit more, or if this is considered normal. The AN hardware fitting in the pic above that one seems to seat itself just fine. Problem is, you want to make absolutely sure that these are done correctly, or you will end up with leaks and possible failures - which is not good.
All in all I was satisfied with the results but it definitely has a certain feel to knowing when to stop cranking down on the flare bit, adn the prep on the end of the tube is absolutely critical as well. Any burs on the end will most definitely end up with a cracked flare, so care must be taken there as well. It was cool to see how this tool works.
Next post I will talk about my efforts to practice bending 3/16 inch soft aluminum tubing to shape with another bender tool I purchased. That experience was not as good as this one was - and I am not real happy with the claims made by the bending tool that I purchased that it will handle 3/16 inch tubing. After my experience I think that is a bunch of crap. Anyway, more on that tomorrow.
great post
ReplyDelete