After marking the adjusted center hole location for all the brackets, I setup the drill press. The next decision to make was if I should use the #12 drill bit, or a number 13 drill bit followed by a # 12 fluted reamer. I decided to go with the smaller bit and reamer combo just to try to do everything to keep from enlarging these bolt holes too much. The downside to this is that my #13 drill bit is a standard non-aviation drill bit, so the angle of the cutters is not the same, and so it does not cut as clean a hole. Anyway, pick your poison and live with it.
Setting up the drill press seems to take forever, but when done correctly the holes all end up in the right place. Here was my setup:
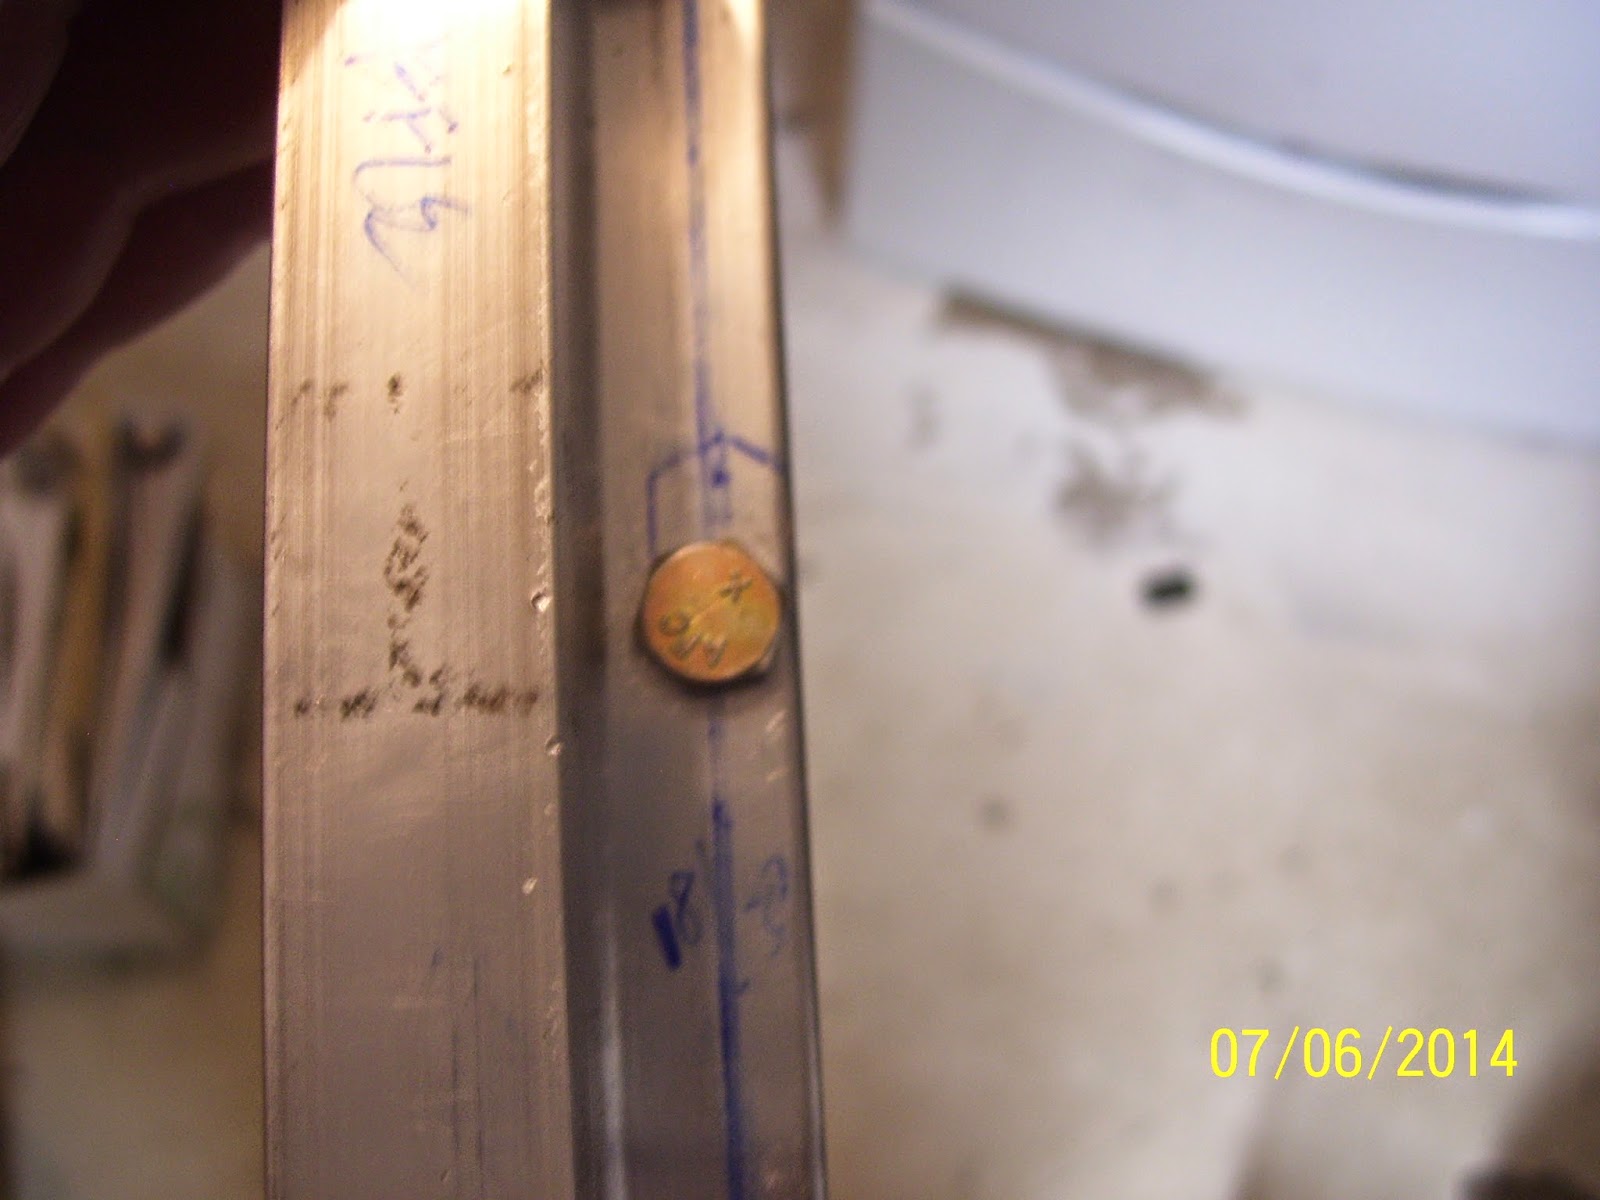
And the bolt in the hole for the inboard bracket afterward:
And here is the reamer I used, again on the cordless drill and NOT in the air drill:
Here is how I reamed each hole after drilling it on the press:
After drilling and reaming all the holes, I deburred them with the deburring bit, and started mounting the ones for the left wing By using an AN3-4A bolt, lock nut, and washer. I decided to mount them in the same manner that they will actually be mounted on the plane, with the bolt head and washer up against the back side of the wing spar, and the nut against the braclet flange. Others will do the reverse, but I was concerned about the clearance of the bolt head against the web of the bracket. Turns out in retrospect that either way would work fine. The nut and the bolt had have the same relative dimensions. I used a 3/8 inch nut driver and open ended wrench to tighten the middle bolts down. These need to be tight enough to prevent the bracket from moving when you back drill the remaining holes.
Beofre you can do that you need to ensure that they are perfectly square to the main wing spar web. After researching several build logs it was obvious that a small plastic or metal triangle shaped straight edge is the right tool for this job. It is small enough to fit between the spar bars bars on the top and bottom of the main wing spar. The only problem was I was sure if had one around the house or not. A check at Harbor Freight during a recent outing revealed that they do not one small enough for this job. Then I remembered that these things were pretty common school supply items. So I searched the junk drawers, and sure enough I found one that would work:

Just line it up with spar baron one edge adn up against the edge of the bracket flange with the other. There are some tight spots where you can't lay it down perfectly flat, but you can still verify the squareness of the bracket easily. the trick was figuring how to hold the bracket square against the tool while you used two hands to tighten the bolt. I guess a clamp would have helped, but I like doing things the hard way. Here they are all setup for backdrilling the remaining holes:
I should also mention that I ran the reamer through each of the bolt holes in the wing spar before I mounted the brackets. Here was the underside of the wing spar with the bolt in place:

I'll wrap up this post with a blurry pic of the inboard bracket bolt screwed into the nut plate that I had installed long before attaching the main wing ribs to the spars. Atthe time I thought this was the right thing to do, and in reality it was still the right thing to do. However, I ran into a bit of a problem that I did not foresee and therefore had to resolve as a result of doing this. With the nut plates already installed, and only one of the three bolt holes marked and drilled into the inboard bracket, I could NOT backdrill the remaining 2 holes because the nut plates were already installed. So I had to figure out how to solve this problem so I could still drill the remaining two outer holes in exactly the correct position. It was a bit involved, but I managed to find a way that I will report on tomorrow.


No comments:
Post a Comment