This will set me back by at least a week if not more.
First is a pic of most of the trim tab and elevator frame parts all cleaned and scuffed and ready for primer.

The only thing that was not prepped was the other half of the trim tab hinge that still has to be fitted and drilled. And of course, now I will have to prepare a second spar, third counterbalance rib, and second tip rib when they arrive from Vans.
Next is the trim tab and elevator riblets, the trim tab control horn halves, and the trim tab-half of the hinge, ready for priming on my makeshift priming table.

Next is all the other parts hung up on the wire and ready for priming. Lots of parts for both the elevator and trim tab.
And now for the really funny part. Normally I have been using my expensive two part self etching primer for the larger pieces of aluminum. The only realt reason for this was to avoid having to buy cases and cases of NAPA 7220 primer in the can. When I went to open the quart can of the primer base, it looked more like the material used to make Silly Putty than primer, and had about the same rubbery consistency. Needless to say that this was not going to go through a spray gun, no matter how much I tried to reduce it. So another $64.00 down the drain. This pic was of the setup for the two part primer application just before I discovered the primer was bad.

So the solution to the problem to avoid any further delays was to go ahead and use the 7220 primer for all the parts. Here they are all ready for riveting:

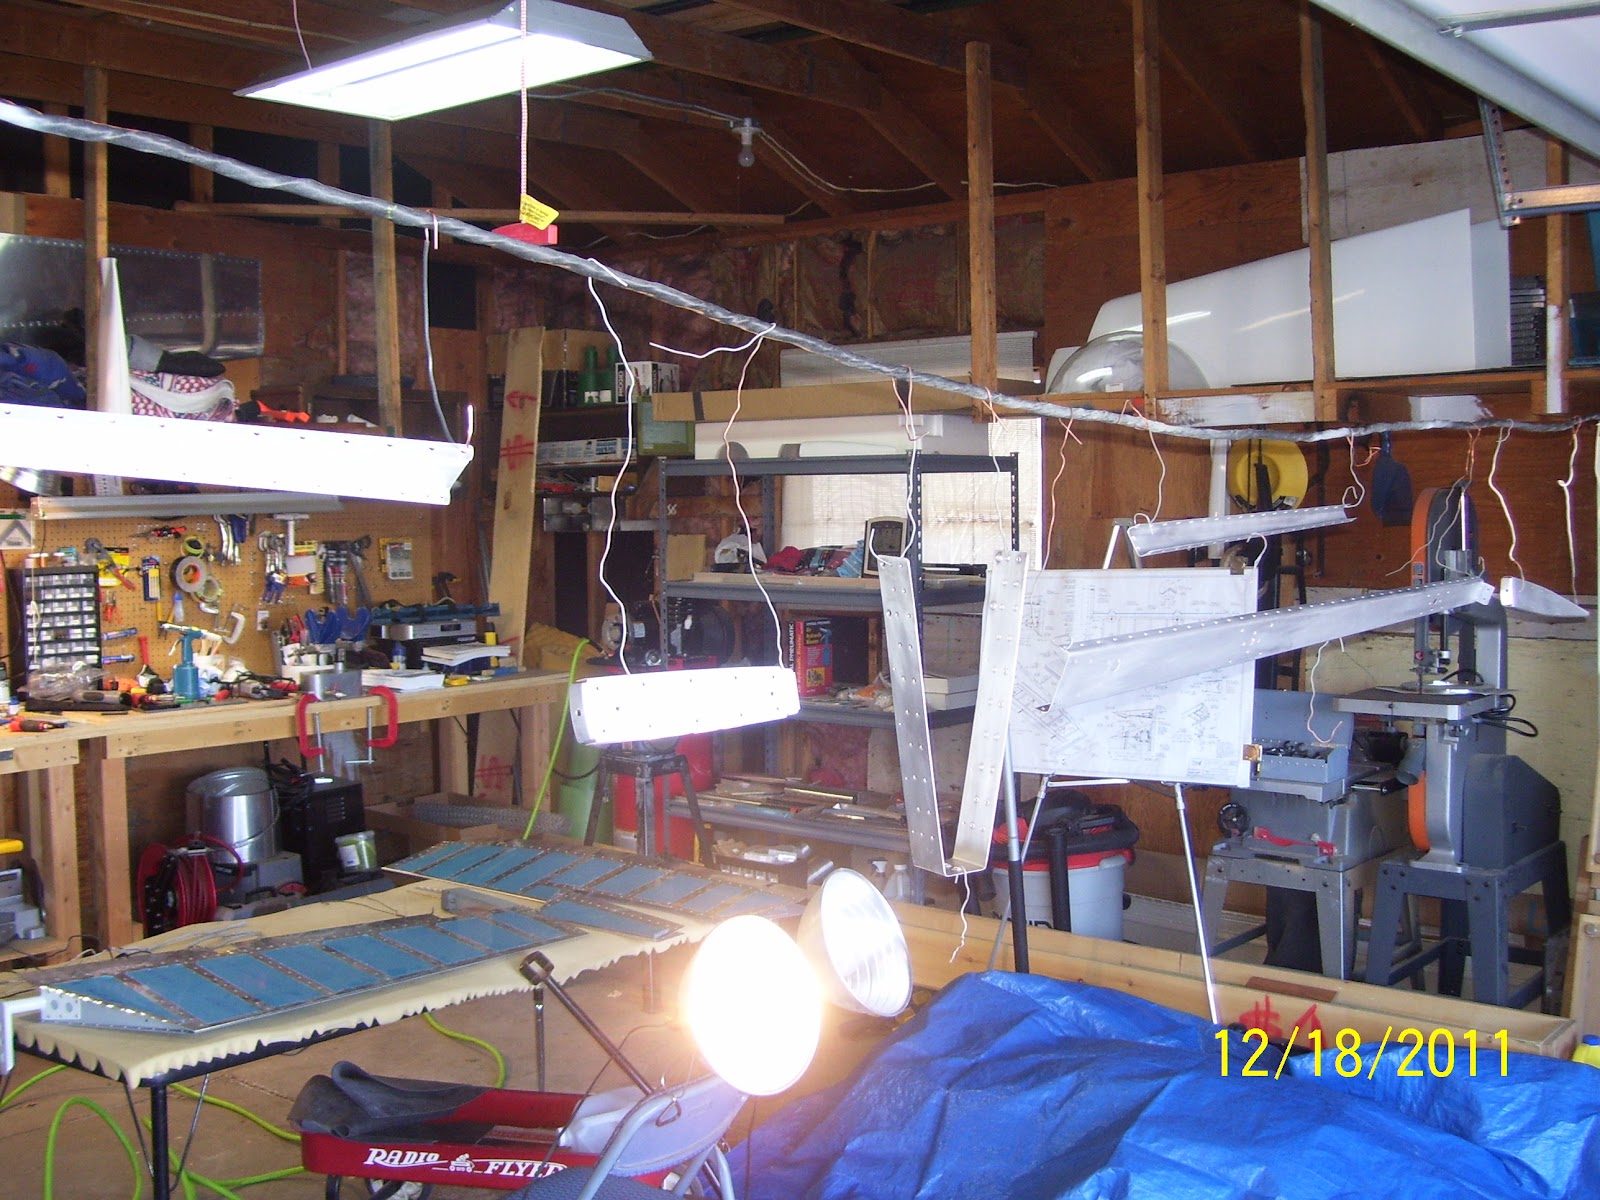
Next is a more close up pic of yeat another attempt to instroduce an adequate amount of light to one side of the parts that are strung up on my priming wire. My garage lights are closest to the work benches, and I string the wire up on the opposite end for ventilation and to prevent priming other things not intended to be primed, but I then suffer a penalty for lack of light on this area. The problem is that I get great sun light from the open garage door, so I can see that side of the parts very well, but I get shadows and severe lack of good light on the other side. So I tool part of the wing jig, mounted two of my High intensity reflector lights to the angle, and that seemed to work OK.

And finally the crappy rivet on the top that has set me back yet again. I can't even begin to tell you how sick and tired I am of trying to buck rivets in all these teeny tiny places. You do everything absolutely correctly to get to this point, and then it all goes to shit in a heart beat. Really sick and tired of this. Oh well, get new parts and try it again.

Followed by the crappy pic of the other side of both rivets. Really really bad.......No chance to salvage this - they had to come out, which lead to the distortion and final demise of the spar web in addition to the rib flange. If your shop heads end up looking like this, then they need to come out - no question.

Another one of the shop heads. Here is where is starts to get strange. It's hard to see in the pick, but if you look at the top rivet head, and then notice the bottom rivet head appearing at a slightly different ange than the one on the top, this is how the rivet shafts were sitting in the metal before I even began riveting them. They were obviously at different angles to each other, implying that something was wrong with the spar web or spar flange, or both. I noted that the manufactured heads on both rivets were not sitting at the same angle either. I ahve no idea why or how this section of the spar would ahve become so messed up, other than this possibly happening at the factory when they were forming the part on the bending break. It would not be the first time I received a badly formed part from the mothership, and probably won't be the last. Of course, it's much easier to blame them than it is to blame me, right?
And here is the setup I used - same as I did for the right side.


And the final pic that shows just how messed up the fit of the two ribs is against the spar. None of the flanges are lying flat against the spar or the ribs. This was totally messed up and I am still at a loss as to the reason why. The counterbalance rib flange was bent while trying to move it out of the way to drive the rivets with the double offset rivet set, so I can explain that one, but the fit of the tip rib flange to the spar is also messed up.That one I cannot explain. Hopefully the next post will be a better one.....

Sorry to hear about your troubles with the elevators. I haven't begun to rivet mine together yet, since I still have a few steps before then. Since the baby is here now, I haven't worked on the RV since the very beginning of December. I plan to get back to it in January. Stay positive man. Think to yourself, how many times did Howard Hughes rebuild the H-1 Racer before he got it right!
ReplyDeleteMike