
Unfortunately after finishing the rib flanges I decided to get "started" on the business end of the mod - the inboard section that I affectionately call the swiss cheese section, since it has so many rivet holes and cut outs in it. What I forgot t take into account was how much flex exists in that area between the two ribs. you don't realize how much stiffness is provided by each rib until you try to buck a couple of rivets in the middle of the skin between them. What follows is the result - yet another rivet that needs to be drilled out and replaced. So I hung it up for the day to regroup, rest, and attack it again today.

To address this, I came up with an idea. I needed to somehow add some stiffness to that area just as I have had to do at other times. I remembered that I still have several of the form blocks that I used to shape the subskin so many years ago. SO I took one of them and a bar clamp, set it down inside the LE where I thought it would provide sufficient stiffness, and clamped it down just enough to hold it in place. With all the nutplates and shop heads of other rivets it did not sit down inside the skin totally flush, but it was good enough to provide the required stiffness in the areas where I needed to rivet the outer skin to the subskin.
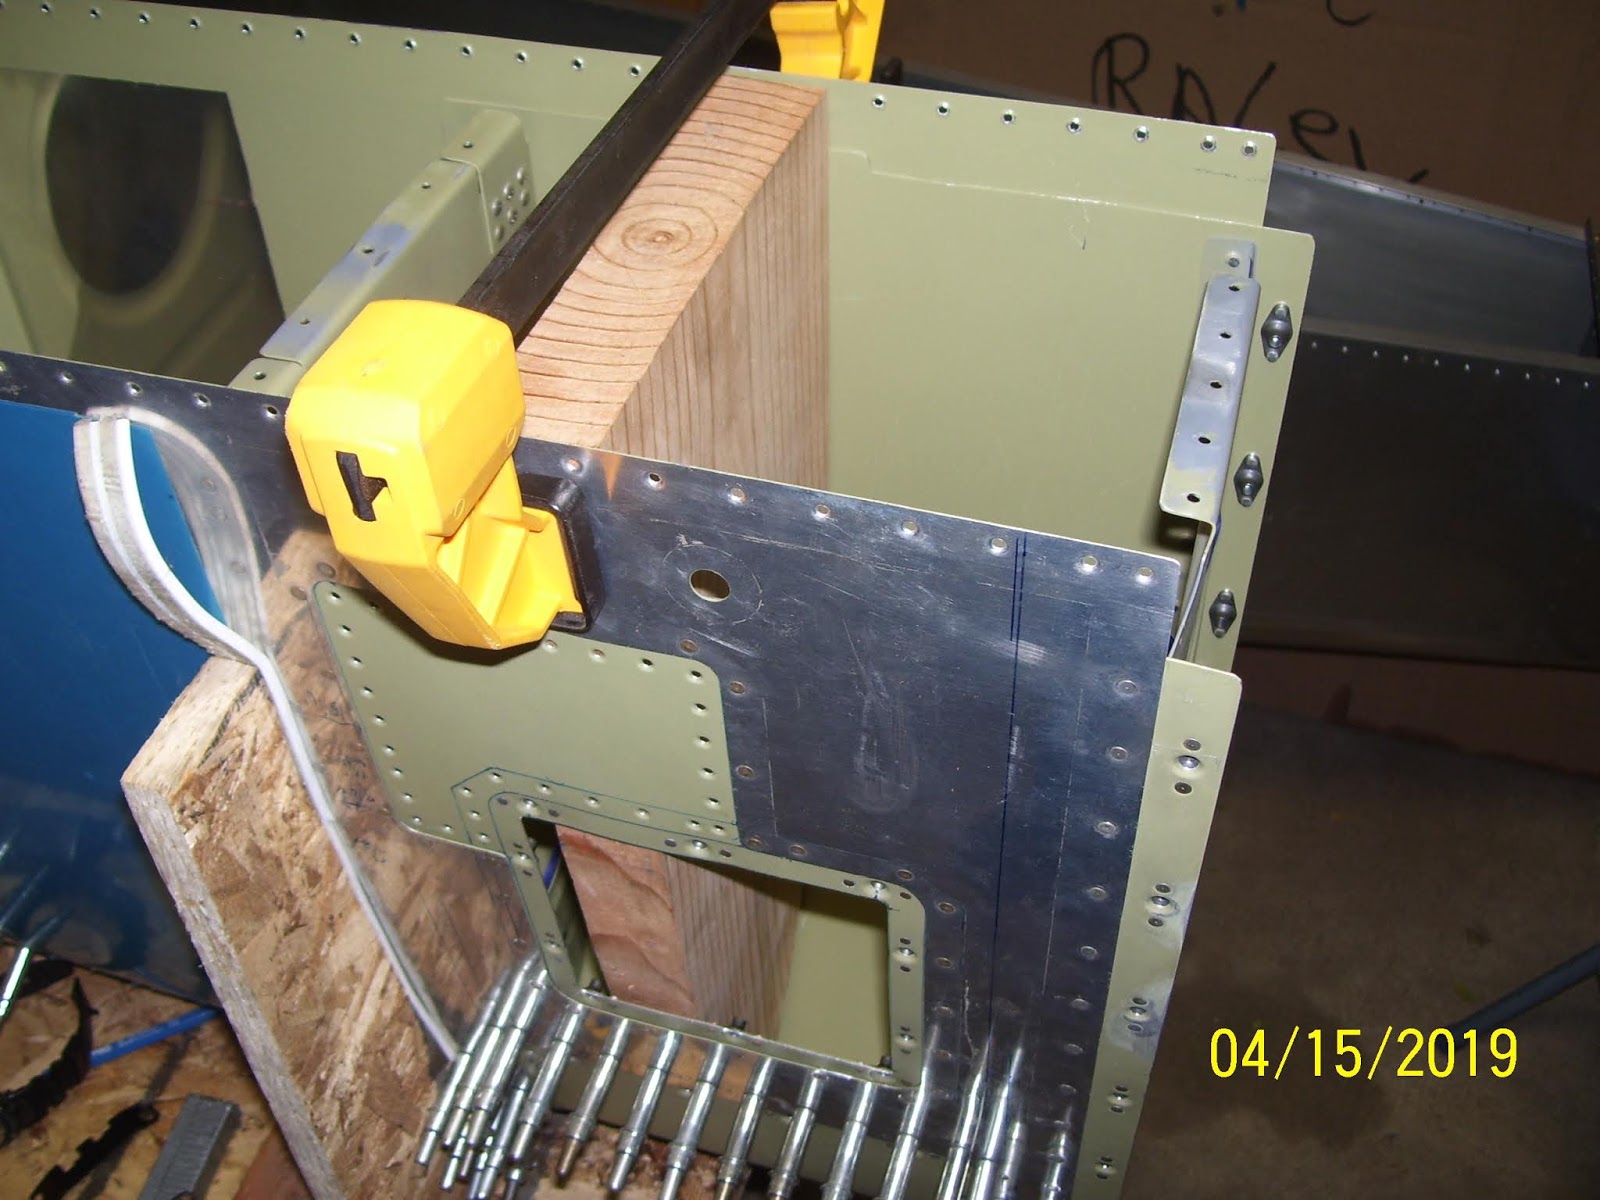

Here is shot after I was able to use the form block by moving it as necessary to allow room to hold the bucking bar while I set the perimeter rivets around each access hole. These would be the rivets that would normally secure the mounting or backing plate that allows a flange to mount the cover plate onto it with screws. In my case the subskin serves as that mounting plate, but I used the same rivet pattern as called for in each actual mounting plate:

Once these perimeter rivets were set it was time to mount the original cover plate from Vans permanently to the subskin. Here it is clecoed into position for the final time:

And here it is after all the rivets were set:

It still fit just like a glove. I was really pleased with how that went together. I was concerned about some of the edges curling up, but that never happened. It fit just like it was supposed to - to cover up the old Vans hole so I could use the SafeAir access panel hole instead.
And finally the back side with all the shop heads after this was all done:

But slowly all the holes are getting filled. Next steps are to set the cradle on its side and secure the back side of the LE so I can push on the forward tip rivets to set them. The problem is that I still need to be able to reach deep inside with the bucking bar to set those most forward rivets - and these are the most critical to do correctly the first time. I can't afford to have to drill any of those out. So the next session will be spent doing a lot of prep and ensuring that everything is exactly right so that setting these last rivets is as easy s possible.
KPR
No comments:
Post a Comment