I then realized that in order to scarf the joint properly, I would really need the skins to be secured as closely as possible to the way that the would be riveted to the wing spar and the ribs, so that I would know exactly how much the skins would need to be tapered (scarfed) to remove the .025 ridge that sits higher than the fuel tank skin when the wing skins overlap each other. They overlap each other by about 1.25 inches or so, with the side by side rivet holes about 7/8 of an inch apart from each other, and each outer-most rivet hole in each skin is set at about 5/16ths of an inch from edge of each skin.
As I thought through this, I realized that although I had countersunk the holes for the inner wing skin rivet that attach it to the wing spar flange, I had NOT yet re-countersunk the rivet holes in the wing spar flange for the outer wing skin. I needed to do this BEFORE scarfing the joint, to ensure that the wing skins were seated properly in the slightly over-countersunk holes, so that the skin edges are sitting flush against the wing spar flange.You cant set a scarf joint very well on two skins that are pillowing where they attach to the spar, so this had to be done beforehand.
SO I grabbed the drill and the MS countersink bit that was still set for the slightly deeper countersunk hole, and started re-doing all the holes for the outer wing skin attach points on the main wing spar flange on the top side. I started from the outboard (wingtip) end and worked my way back toward the fuel tank, which was still mounted on the wing spar. And that's where I ran into my issue. the wing skins overlap each other at a point that extends beyond the outboard end of the fuel tank skin. Therefore there are a small number of additional holes that lie directly under the fuel tank skin that also must be re-countersunk. The problem is that with the tank skin in the way, you can't set the microstop countersink bit flush up against the spar flange to ensure an evenly drilled hole. SO the fuel tank has to come of the wing AGAIN in order to finish countersinking. (UGHHHH)!
I removed the tank attached to the baffle plate this time, and then I realized something else that I also needed to do. This was the first time since I drilled all the tank baffle plate - to - Z bracket holes that they would all be exposed so that I could check the spacing and edge distance of the new holes in each Z bracket. I think they turned out exactly as expected. Here are some pics:


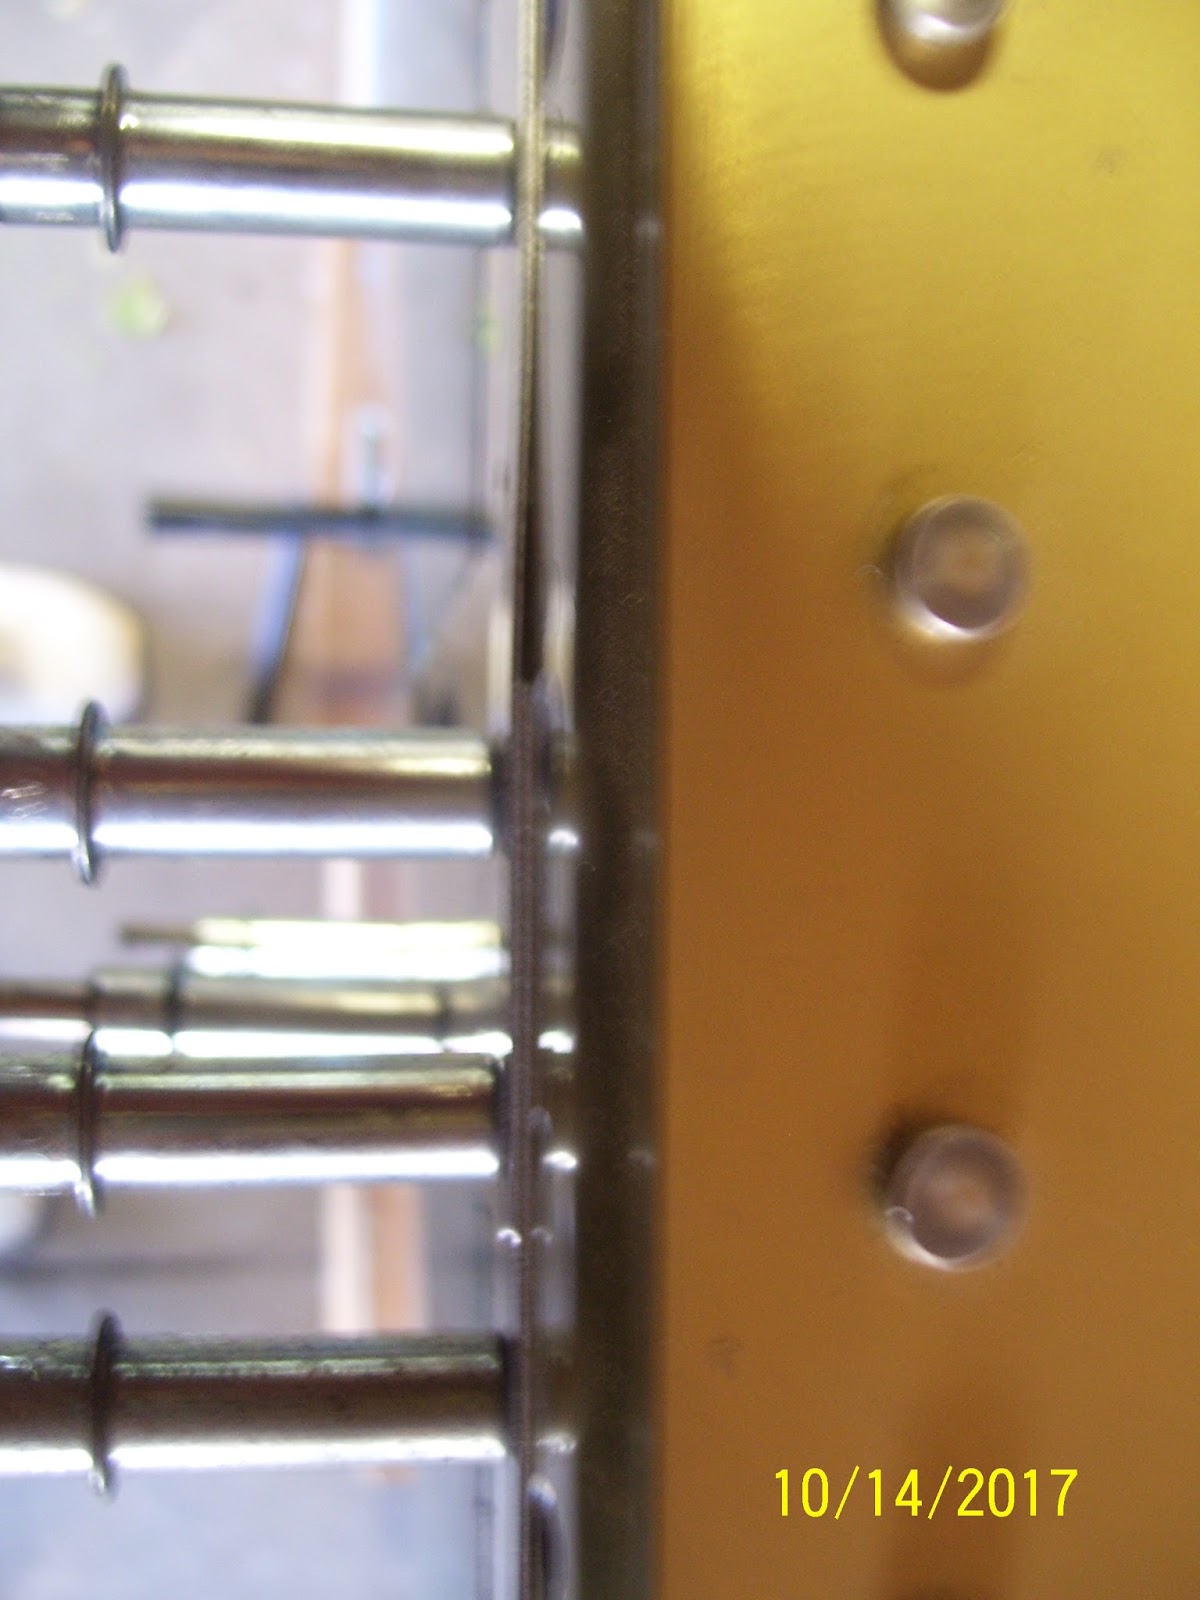
Next is a really blurry pic of the holes that lie under the nut plate holes for the fuel tank attach screws. You can still see the rivet I put in the hole to show that is has the proper amount of over-countersunk depth as specified by Vans in the latest section 5 revision of their manual.

The skins need to be tapered in this corner so that the gap between the outer skin and the wing spar flange no longer appears, and the two overlapping skins join together flush with each other, and the edges are also flush with the edge of the tank skin.

Others will perform the task with the skins removed from the spar completely, but since the object of this task is to carefully trim down the skin so that it forms a smooth, flush joint with the wing spar flange and the fuel tank skin, the only real way to do this is to start removing small amounts of skin and then check the fit. The only way I could figure to do this efficiently was to keep the skins partially clecoed to the wing frame on the most inner and most outer ribs, leaving the center section completely unattached from the spar, so I could lightly bend each skin back without creasing or kinking it while I grind away the metal a little at a time.
Now for the tools to do the job. Here is a pic of the choices I had. I had the pneumatic die grinder with a 3 inch attachment that holds a screw on attachment for a scotch brite pad or a sanding disk. The scotch brite pads seemed a little uneven to me for this application, so I opted for the 180 grit sanding disk. I also opted for the cordless drill instead of the air grinder so I could have a little better control. I also decided to use the 2 inch attachment instead of the 3 inch attachment, again for better control and to keep the area being removed as small as possible to avoid removing too much material from too large an area on each wing skin.


So this means that you have to remove a certain amount of skin thickness from the corners of both skins to arrive at the combined removal of .025 inches.The "formula" I came up with was to remove .0200 inches from the thicker inboard wing skin, and .0120 inches from the thinner outer wing skin. Now this sounds fine "on paper," but in practice I found it rather impossible to get an accurate reading from a digital caliper while trying to periodically check thickness in between sanding sessions to see of the correct depth has been reached. The other complication about this is that the skins are supposed to be tapered (scarfed), so if done correctly, the skin changes thickness constantly. So I gave up the caliper approach, and resorted to visual checks of the fit by pushing the skins together and checking for flush against the fuel tank skin.
SO you might ask, why go to all this trouble for a lousy skin joint. Well, the problem is that the overlapping wing skins cause a rise in the skin that sticks up higher than the fuel tank skin, which also serves as the inboard leading edge of the wing. If this skin edge is not made to be flush with the fuel tank skin, it sticks up into the airflow, disrupting it, causing drag and unstable airflow over that portion of the wing. So to prevent all the ill-effects of this, you need to blend the skin joint so that everything is smoothly joined together.
The other thing to note about this process is that you need to leave the flatness of the inner wing skin against the wing spar flange, so that means you only remove material from the top side of that skin, and the bottom side of the outer skin. EDIT - I later determined that I needed to remove it from the other side as well, so I removed material from both sides o the inner wing skin. You also try to keep the scarf joint a couple of inches or so in size, focusing only on removing enough material for the joint in this corner of the skin to be flush with the tank skin. It should not be a large scarf joint.
I'll add more pics of that tomorrow, but for now here is the joint after I worked on both skins a little tonight. I bent out each skin just enough to separate it from the wing spar and allow clearance for the drill and the attachment. I held the skin in my left hand, applying pressure against the sanding attachment applied to the other side of the skin, and started removing small amounts of material at various intervals, checking my progress as I went. When I felt like I might have enough material removed, I checked the fit. When I thought I had it pretty close, I re-clecoed all the skins to the frame. I've still got a little more work to do tomorrow, but I think I am on the right track.


No comments:
Post a Comment