After a solid week of airplane building I am happy to report that both the left and right wing frames are riveted and mounted on the stands. I started this morning by riveting the rear spar, and it was not long before I had my first fopah. I missed a rivet change at the center support bracket where the aileron pushrod exits the rear spar, so I had to drill out 2 rivets and replace them with the correct length. Once I got past that, I was faced with the dreaded flush rivets on the tip rib once again. The 3" C yoke I was using in my hand squeezer seemed to be binding up on things a bit, and I had noticed that the bottom of the yoke was still quite square because I had never ground it down to a more rounded shape. So I decided to grind it down a bit before I tried setting the flush rivets. I think it made a little difference as I was able to set these a whole lot easier than before. Here is the pic of what they look like after they have been set.

And here is the rear spar after the flap support and gap seal had been match drilled, and all the rivets had been set, with only the place-holder clecoes in place as reminders that no rivets are to be set in these holes until the gap seal and flap support are installed.
With the frames completed it was time to do some major shifting of parts to prepare for the next phase which is prepping and riveting the wing skins. My skins had been sitting between two layers of cardboard from the original packing crate for a very long time. They had been sitting on my shelf underneath the aileron and flap skins and the wing tips. So I had to remove all that stuff to get to the top skins for both wings, which are parts W702 (inboard top) and W703 (outboard top). I also needed to track down the aluminum sheet stock that is used to fabricate the wing walk doublers on the inboard side of each wing.
I managed to get all the skins down although I almost had a major catastrophe when I left one of the bottom skins hanging half way off the shelf when it decided to slide off on its own. I managed to save it before it became too badly damaged. That was a close one. Afterward I cleaned up the garage and shot this pic of both frames back in their respective stands:

It felt really nice to have a relatively clean workshop again and two frames waiting anxiously for skins. The first step for the skins is to take the inboard top wing skin and the sheet aluminum used to fabricate the wing walk doublers and match drill all the spar and rib rivet holes into the doubler by placing it underneath the W702 inboard skin. A note to other builders. The W702 and W703 top skins are NOT marked left and right from the factory. They are basically the same part with all the same holes, and you simply have to flip one set of them over and mark one set for the left wing and the other for the right. The bottom skins are marked for either side of the wing as their configurations are somewhat different for each wing.
Here is the stock that is used to fabricate the wing walk doubler:
It comes in a 48 inch long sheet that is not pre-drilled. It is also 10 inches wide. The plans call for the width to be 9 3/8 inches. I already checked this on VAF and confirmed that most everyone just leaves the width at 10 inches. It has to be cut down to 26 inches. Why did they give me two sheets at 48 inches long when they both have to be cut down to 26 inches? I have no idea. Yet another Vans mystery. ON the far left of the above pic are the two different shears that I used to cut the sheet down to size.
Once the sheet is trimmed,I had to clear away some serious space on my work bench to set the W702 skin down flat on my drill boards, and then I slid the doubler sheet under the skin per the instructions so that it sits back from the top edge about 9/16ths of an inch to clear the main spar flange. Then I aligned the inboard edges of the doubler with the skin, and clamped it in place. Then I used the prepunched holes in the skin to match drill the holes in the doubler. Here is the completed doubler:
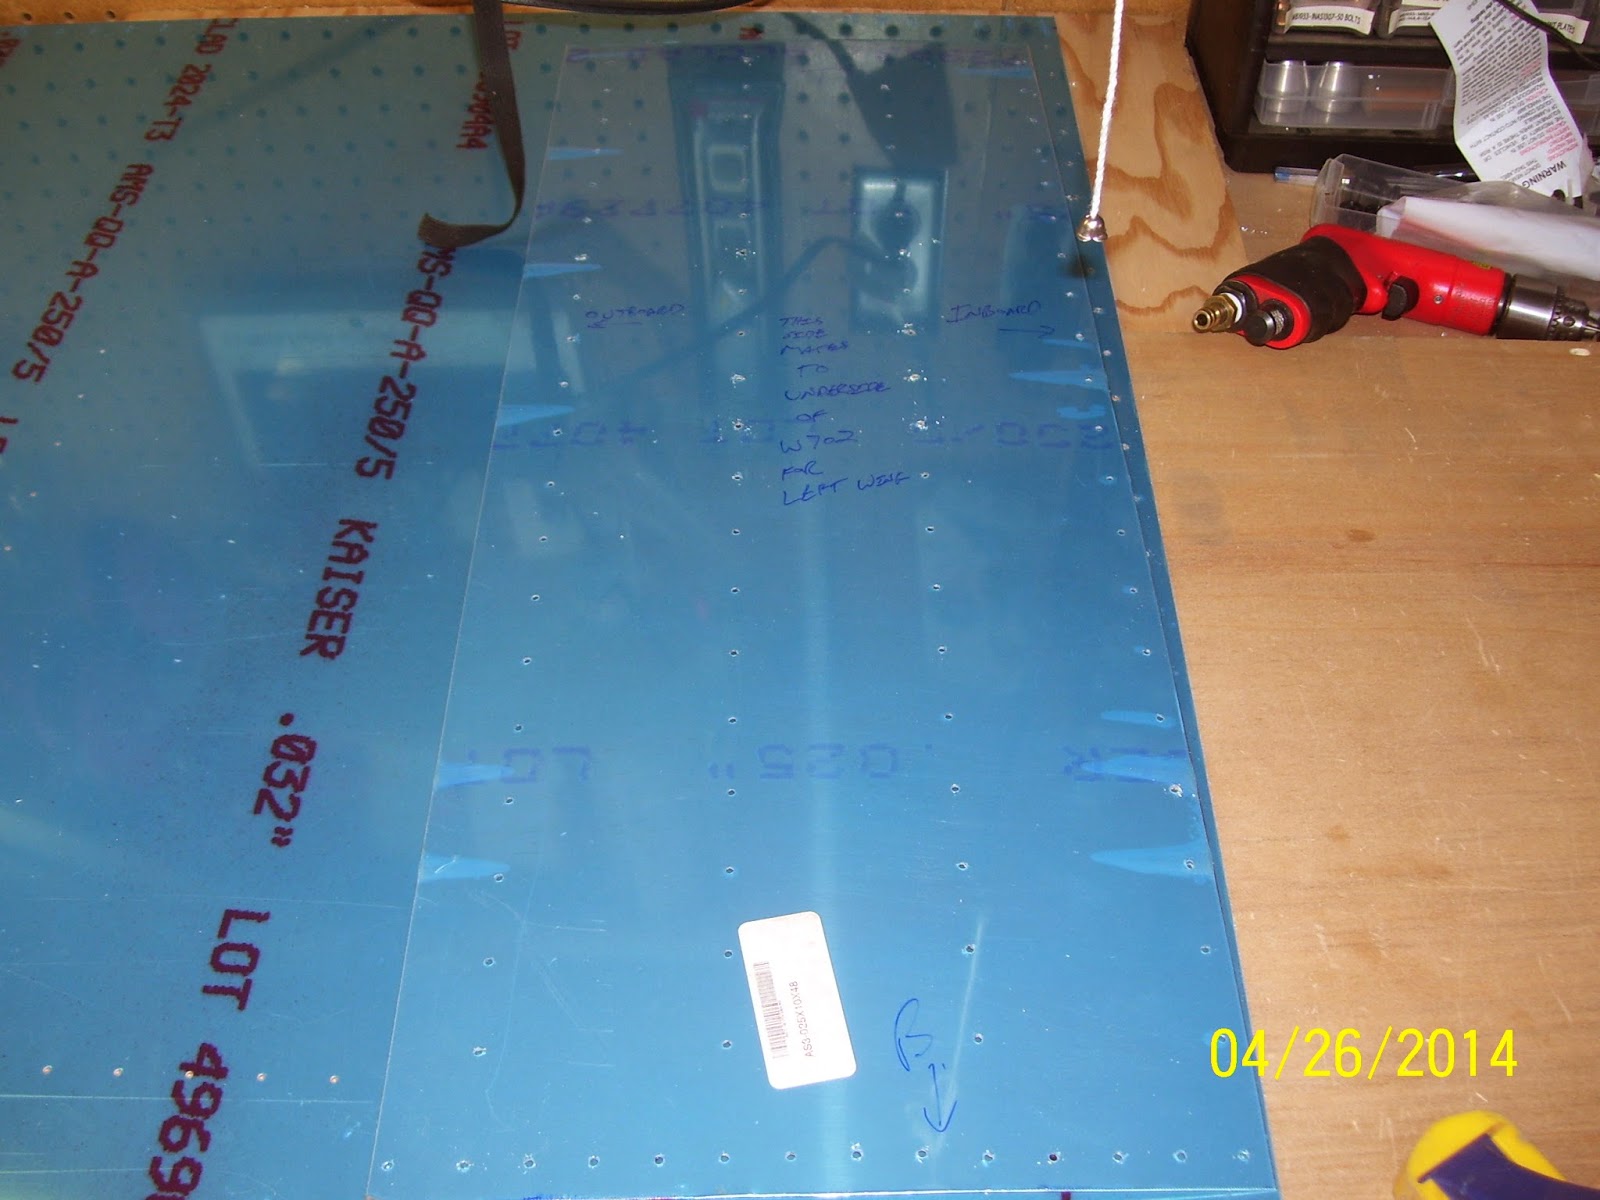
I should also add that I drilled from the center and then outward for each row, and clecoed every other row directly to the drill board as I went, to ensure that the doubler would not change position on me while drilling all those holes. Then I drilled from the center downward until all the holes were drilled/clecoed, Worked like a charm. I must say that it felt weird doing this, since I had not drilled any new holes in anything for quite some time. It was good to know I had not forgotten how to do a simple layup on a blank sheet of aluminum.
I had enough energy left to cut the doubler for the right wing to size and decided to call it a day. After all the contorting and positioning it took to set all the rivets for the wing spars, my entire body is quite sore. Even so, it is quite satisfying to see the progress I have made this week, and even more satisfying to finally be back at work building my magic carpet ride!


No comments:
Post a Comment