Showing posts with label Paint Schemes. Show all posts

Sunday, January 31, 2021

Making a Rotisserie for the Fuselage - Part 1

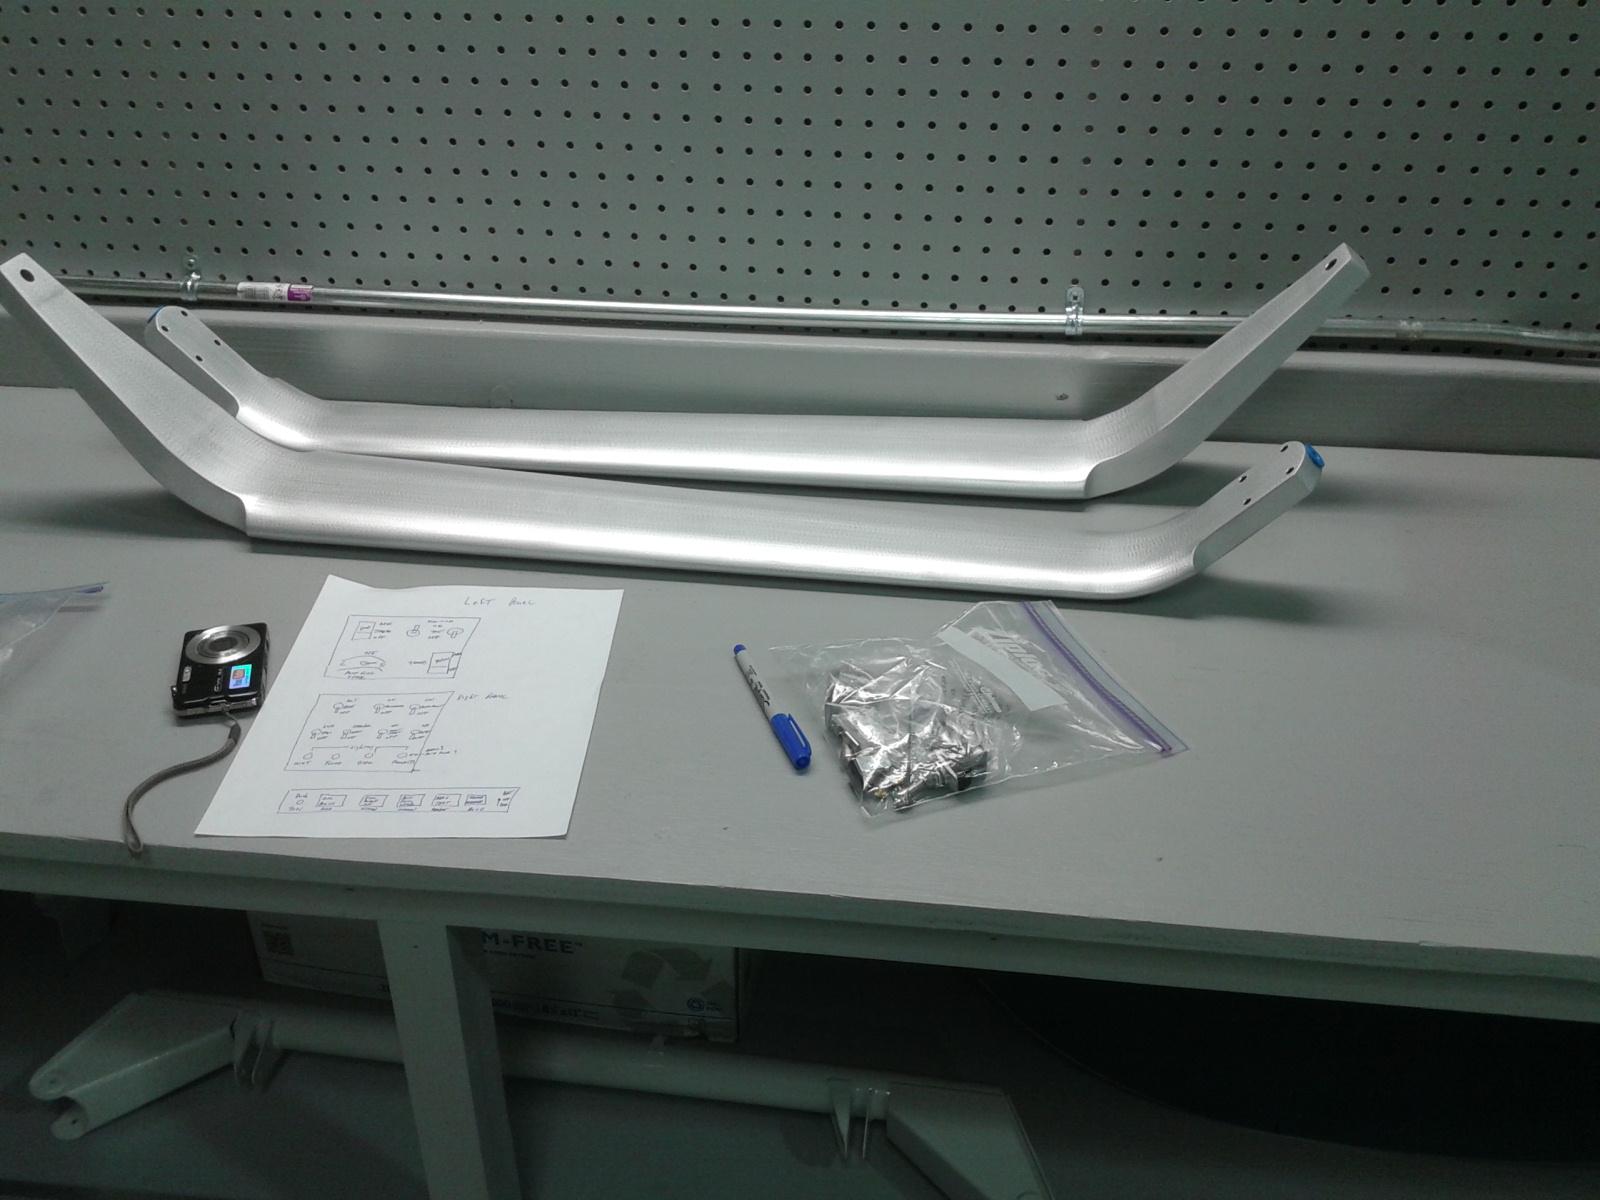
 While I continue to review my parts situation for the wings to prepare to place a new order with Vans and other vendors, I caught an ad from Harbor Freight a couple of weeks ago for a 1,000 pound capacity Engine Stand that many builders have used as a rotating rotisserie for the RV-8 fuselage. The rotisserie is mainly used as a back-saving tool while assembling many of the parts and components of the cockpit interior and floor panels. It may also come in very handy if I decide to paint my own airplane, which I am once again heavily considering. I have a new idea for a paint job for this airplane that so far seems to be pretty unique. That's all that I am willing to share about that for now, in the interest of keeping it as unique as possible. :)

 I have reviewed numerous other build logs from other builders, but I still rely most heavily on the log from Steve Riffe, who has been flying his airplane now for about 3.5 years or so. He used the same engine stand for his fuselage, and he also learned about this from other builders. While looking at pics of his engine stand, I noticed that the frame design is different, because I think they change designs every so often for the same product. Changes are mainly with how the wheels are attached to the base, and how the support bracket that attaches to the vertical bar and the horizontal bar to add support to that critical area is constructed. I purchased the stand brand new from HF for under $70.00. It requires minor assembly, but the parts are heavy, so be prepared.

Since the QB fuse as delivered by VANs only weights between 150-200 pounds max (if that), this 1,000 lb. stand is more than sufficient for the job. the main issue is the length of the fuse, which creates a long moment (Remember your weight and balance training - WxA=M). This means that if the tail is unsupported while the front is suspended by the engine stand, all of that weight along the entire length of the fuselage has to be supported by the stand and its attach points to the firewall. The idea is to use the stand in the front, and lay the tail down on a small saw horse, milk carton, or custom-built wood stand as needed, so the weight that must be supported by the stand itself is minimized as much as possible. I also wanted this particular stand instead of other available models because it has the additional lateral wheel bracket in the front, which helps provide some additional lateral stability to the fuselage when mounted on the stand. 

The main problem I encountered when considering this, is a lack of  a detailed information about the hardware used. So I will attempt to solve that problem. As always, keep in mind that I make no claim of suitability or guarantee that your results will match mine, so you are responsible for determining if thi will work for you or not. YMMV. 

Here is a pic of the assembled HF Engine stand, ready to be converted to a fuselage stand:


I used my yellow angle finder tool to determine the angle of the vertical post and the base support leg, since the angle is not 90 degrees. Most folks remove the front wheels of the stand to bring the vertical post closer to 90 degrees, so that it aligns vertically with the firewall when mounted to the stand. This needs to be done so that it does not put any undo stress on the firewall when mounted to the stand, which would be very bad. 

Since the wheel brackets on mine seem to be a little higher than others, I may need to compensate for that a little by raising the front up a little more with wood shims, but time will tell on that. The angle I measured is almost exactly 5 degrees, although in the above pic it  appears to be much greater than that. 


The rotating bracket that comes with the stand that the firewall will be mounted to comes with 4 "spider leg" attachments that are normally used for running heavy bolts through the spacers or lugs at one end of each arm that then screw into the back of a car engine. 2 of the arms are shown in the pic below.


The mounting plate has slotted holes to allow the location of the spiders to be positioned so that they match the mounting holes on the engine. Unfortunately we have to change this up a bit to modify this assembly for use with the fuselage, but it is not too difficult to do. I will still use the spider arms, but they will be attached to the ends of some angle iron that is cut to the correct length to act as an extension, so that the mounting plate remains near the center of the firewall, while the spiders will be bolted to the 4 holes in each corner of the engine mount holes and brackets behind the firewall, AND to the angle iron extensions. 

Similar to Steve, I decided to use AN hardware for most of the attach points for the spiders to the firewall/engine mount brackets, which have a minimum 125,000 lbs. of tensile strength, to ensure that the bracket has enough strength to stay attached to the firewall the entire time. The immediate problem that has to be overcome is that the stand comes with very large metric bolts. 

Unfortunately, when Vans builds the QB fuselage, all the engine mount holes are only pre-drilled to 3/16ths of  an inch, which is the smallest AN bolt diameter you can obtain before having to revert to screws. Furthermore, if you read ahead in the VAF forums and the Vans instructions for the Fuselage assembly, you will find that they say NOT to drill out those engine mount holes until you have the actual engine mount in your possession, so you can use it as a drill guide. 

This is necessary because the weldments for every engine mount vary a bit from one to the other, so you are not supposed to up-size the bolt holes without the engine mount to ensure the holes are drilled out correctly. The engine mount bolts are 3/8 inches thick, or AN-6 I  think, so they are substantially larger than 3/16 inches. Since I do not have my engine mount yet, I did not want to upsize the holes, but I was also concerned that this would mean that only AN3 sized-hardware would be attached to each existing hole. 

Steve informed me that he did exactly that - used the AN3 bolts in each corner, and he had no issues with anything while using the rotisserie. I also contacted Vans about this, and they said it would probably be OK to upsize the holes about half way in between the current size and the final size, since most engine mount holes may only vary by a max of 1/8 of an inch or less from each other. They also thought that AN 3 bolts would be "a little light. 

Other builders decided to drill up to AN 4 bolt holes, and I think I saw others yet again that drilled them out the final AN 6 size. At the end of the day, I decided to stay with the AN3 bolts to avoid upsizing the bolt holes without the engine mount. Steve said he had no issues, and the reality is that all the other bolts used in the assembly are the same beefy ones provided with the engine mount. So I think his will be fine.

With that decided, there is another  problem that I felt I needed to solve. While the AN 3 bolts will precisely fit in the predrilled holes in the firewall, the predrilled holes in each spider leg are extremely large, I was concerned about running such a small sized bolt through the large hole in the spacer lug in the spider leg, without having some kind of additional support for the bolt shank. So, similar to another builder (I am sorry I did not capture his build log) I decided to cut a wood dowel to the correct length to fit inside the lug or extension, and insert it into the larger hole in each spider. It turns out that a 5/8 inch dowel from HD aircraft supply works very nicely here, at least as far as the fit into the spider lug is concerned. I measured and then cut the 5/8 inch dowel into 4 separate 1 1/2 inch long inserts using my bandsaw, as shown below.


After you have cut the spacers, the next step is to take a rubber mallet and tap them into "submission" into each lug hole:


IT turns out to be a very nice "press" fit. Each dowel is only long enough to reach the base of the lug where it is welded to the spider arm. The dowel will not fit all the way to the bottom of the arm because the holes from the lug that they welded to the top of the bar are not the same size. The holes in the bar are a little smaller, so they will stop at that point.

Now for the hard part. The next step was to drill out  a 3/16 inch hole in the center of each dowel.  I won't lie, for me this turned out to be a bit of a nightmare, because I found out that dowels do not like to allow a drill bit to follow a straight path from one end to the other. All of initial holes I drilled ended up being misaligned, and I ended up having to continue "custom" drilling each hole in the dowels to "force" them to run more or less from center to center. Basically that means I had to enlarge the hole a bit by using a drill bit to gouge out the holes. 

I also needed to create a few replacement dowels, because the hole drilling went so badly that I could not salvage the insert. I tried using my massive large drill press first. It vibrates badly, and I cannot figure out how to secure things very well to the stupid drill table. After a few attempts with the drill press, I gave up and decided to try it free hand.

First I tried to put it in my table vise vertically - same result. the drill bit would meet the wood and instantly take its own undesirable path to the other end of the dowel.


 Then I tried putting them flat on a drill board and clamping then down with bar clamps:


I originally started with a #40 drill bit, then followed with a #30, followed by a 3/16th inch drill bit for final drilling. This also did not work very well for me. The hole on one end starts out centered, and the hole in the opposite end is completely uncentered and off to one side. I even used my center punch to try to start the hole in the exact center of each dowel, and this did not help much either.


Here are the results of several attempts. This side looks OK:


But not this side:


Example of extra gouging:

About as badly aligned as it can get:

At the end of it all I decided to put my 3/16 inch drill bit into my cordless drill, and after drilling the initial hole, I manually "corrected" any offset in each hole by gouging it out with the drill as best I could.  Then I ran each bolt through the holes to check for centering. it does not need to be absolutely perfect, but I wanted it as close as possible to avoid and excess stress on any of the bolts, or the points where they are attached.  Here are the end results:


Here is an example, taken before I made and drilled the dowel inserts, of the upper left corner of the firewall/engine mount hole, and how the spiders are attached to it. The lower end will be attached to the angle iron:


And here is pic that l also do not see in anyone's build log - how the bolt attachment appears on the inside of the engine mount hole, taken from the rear of the firewall, where the bolt protrudes through the predrilled hole from the factory:


More on the remaining assembly in the next post..

Sunday, January 27, 2013

Primed and painted the Wing Stands

I managed to get the wing stands scuffed, re-cleaned, primed and painted. A long time ago, way back when I began this project, I had completed Van's Tool box kit after receiving my tools from Cleaveland Tools to acclamate myself to them in preparation for the larger task ahead. When the toolbox was completed I purcchased some spray paint to match the colors that had grabbed my attention at the time - a bright blue and an aircraft gray. I had planned to use them on the toolbox, but I never did. So it has remained primed with Napa 7220 gray primer ever since.

Fast forward to today. I knew that I needed to properly preserve the steel wing stands by priming them and painting them once they were ready, and that day finally came. I used a wire bristle brush in my electric drill to rough up the surfaces of all four stands, and then re-cleaned them with acetone. I also used a tapered grinding bit that fits in my drill to debur each of the mounting holes in the bases. I then primed all four stands them with about 1.5 cans of Napa 7220.

Then finally, holding true to my nature to act, think, speak, and do things differently than most others, I did not paint them all with just one solid pretty color. Instead, I remembered that I still had the blue and gray paint on the shelf, and decided to have some fun. I decided to emulate the top and botton color scheme as seen on the photo at the top of my blog. I used the aircraft gray paint on the bottom of each stand, and the blue paint on the top. I also chose not to make any clean, crip lines that separate the two colors. Since one of my absolute passions in life is WW II aircraft, I wanted to try my hand at using paint from spray can to create the airbrushed non-linear blended look of the two colors, similar to the way that WWII aircraft were painted as part of their camoflage schemes. Here are some shots of the results:


I have to say I like the results. Others will probably look at this and have other opinions, and I really don't care. Just one of the pleasures of living in a free country where I can choose to use whatever colors I want to build my own airplane! An interesting thing about this ceramic blue hight temp engine block paint that used. It seems to have a multi-color characteristic to it. It turns a light turqois in the sunlight, and is a much darker blue tone in the shade. Here is another shot of all of them side by side. Just imagine this is the paint line of my fuselage :)


With the help of my son I also repositioned the hanging bracket for my HS so that it would be a little bit easier than where I had it before, but the refrigerator has proved to make it just as difficult to hang, so no matter what I try this task is still a bit difficult, but do-able.


Now my work table is free again, and I can start match drilling ribs to the wing spars by clamping one spar to the table and the other one to the work benches. Next steps are also to mark the final locations for both sets of wing stands, rent the rotary hammer drill, drill the 16 mounting holes in the concrete floor, and then finish installing the remaining hardware for the angle cross members that will actually support each wing spar at a good working height. I am still concerned about the un-evenness of my concrete floor, but since the angle supports will be adjustable for level, regardless of the less level attitude of the wing stands due to the unneven floor, I am not terribly concerned about it. as long as the centerlines of each stand are relatively close aligned with each other, I can adjust the angle supports for leveling the spars with no problem.

One thing that I still have to resolve is that I need to ensure that there is enough room in front of the work benches so that I can use them to build the flaps and ailerons that also come with the wing kit. The only problem is that my concrete floor has a relief line between two separate slabs of poured concrete, and in order to preserve the spacing in front of the work benches and still be able to get both cars in the garage I will need to position the wing stands in such a way that the mounting brackets will straddle both slabs of concrete. Since the slabs are at least 20 years old, I think this will be OK, but it might make lining up the stands on both ends a bit of challenge.

I will need to snap some chalk lines once I have made my final decisions as to the pacement of the stands, and then I get to try my hand at a rotary hammer drill for the first time. Lucky me!

Monday, January 14, 2013

Wing spars relocated back on the work bench

As part of my ongoing major re-organization effort of the garage, I managed to clear off enough space from the work benches to allow me to move the spars from the shelf on the wall to the benches. I had not seen them for a while, and it felt good to get them down from "storage" so I can start match drilling ribs and skins and such.

The only problem I encountered whne attempting to move them from the shelf to the bench was that all of the parts that were stored on the shelf had been buried by almost 1 inch of shingle remnant when the jerks put my new roof on the house. THey did a great job cleaning up around the perimeter of the house but nobody even mentioned anything about checking and cleaning up my garage. This really pissed me off, but at the same time I realized that this was mostly my fault for leaving them "in harms way" adn not covering them with a tarp or something. I guess I just did not expect to ahve that much crap fall down into the garage.

IN any event, it looks like I was able to vacuum up most of the stuff, but this kind of thing always makes me nervous when I start thinking about all the little pieces tht may still be buried underneath the metal that will not show their ugly face until the vibration from the finished plane finally jars them loose, adn then who know what crevace they may find to deposit themselves into that end up affecting a critical flight control or something.

Here is the first of several pics - lovely shingle crap and sawdust all over my left elevator, and most certainly inside the bay where the electric servo and linkage  goes - the one place that I really don't want to have any of this crap in my airplane, where it can be fatal if something goes wrong.

Edit - and a happy new year to me!! Turns out that blogspot has had problems with uploading images apparently since clear back on January 4. Smells like a virus or even better a ploy to push users away from IE and onto Google chrome or Firefox browsers. Having recently had problems at work with Firefox's latest release, I am now leary of downloading anyone's browser. That said, it does seem that Firefox v 17.0.1 does not have the problem that IE does (do NOT under any circumstances install Firefox v 18.0 - very bad!).

Anyway, to continue - here is the pics of my roof debris covered airplane parts, starting with the left elevator:

Next is the rear spar:


And on a happier note, here are the main wing spars back on the bench. Unfortunately, my HS is still on the table in front of the bench, and I need to finish up some touch up work on the HS so I can hang it back up on the wall to free up the table so I can start attaching ribs - it just never ends.


Still dealing with another deep freeze that has put the stops on anything in the garage. Now working on the cleanup of the benches in the basement - getting tired of living in the junk heap of a house. Almost ready to break out the two fire pits that I own and start some serious burning!

And finally, this is better late than never I guess. A couple of weeks ago I attended a hangar party up at KBJC for a gathering of RV folks across the state. Compliments to Bob Market, who owns this awesome hangar which will soon house Ron Duren's RV-7. I met several people that I had never met before, and made some new friends along the way. Here is a list of things that happened up there:

1. Got a close up view of Sean Thomas' Metal Wing stands. I will post some additional pics of that in another post, but here is a teaser pic for now. Sean is doing a great job.


2. Finally got to see Sean B, who had some very bad luck last summer after his house, and nearly completed RV7 were lost in a large fire near Colorado Springs. It was really great to see him and to find out that he is actually back to building another 7 again and doing his best to put the fire behind him. Kudos to you Sean. I admire your intestinal fortitude! KPR my friend.
3. I got to meet Jim Gray, owner and builder of the 2010 grand champion homebuilt award at Oshkosh for his beautifully finished RV-8, which was finished in the colors of the Jolly Roger Squadron seen in so many movies, including Top Gun and GI Jane. I took a ton of pics and got to pick Jim's brain for some building tips for such things as the forward baggage door, etc.


4. As if that was not enough, I then got a chance to talk with Bob Markert, who is now working on his fuselage. Get ready for alot of green - I just love the color of the primer he is using:

Note the mockup of the instrument panel - alot of Garmin goodies going in this one. He also has a rear seat throttle that I am also considering putting in the back as a safety feature more than anything else. I am NOT going to put the rear rudder pedals in mine - too many stories from other folks about ineffective control and uncomfortable foot position for the rear seat occupant. here is the forward throttle quadrant  - very similar to what I am going to do.


And the rear throttle:


And here is shot of an improvement over the stock landing gear provided by Vans - Grove lnding gear struts are made from one piece leaf spring steel (I think), and they are designed to carry the hydraulic brake fluid inside the actual strut instead of from a separate brake line that is typically strapped to the the landing gear strut. These also serve to eliminate the need to make fairings for the landing gear legs since they already come aerodynamically shaped.


And finally a shot of one of the auxiliary fuel tanks that fit at the tip of each wing. These are from SafeAir and are very expensive (about 1500.00 for the pair), and they give you about an hour of extra fuel. I plan on getting the bungle kit which is simply the fuel line fitting that is added to the main fuel tank which connects to the fuel line coming from the aux tank shown below. I will simply cap this off for potential future use shold I decide to add the aux tanks at a later time. Part of the tank fits inside the wing tip (bottom of pic), and the rest of it (long tube) fits inside the lightening holes of the outer wing ribs. It was very cool to see these up close.


Then Bob showed me a custom windscreen that he ordered from the same company that makes the canopies for Vans. The stock canopy comes molded as one full unit that must be cut and trimmed to create the wind screen and the separate bubble canopy. I had no idea that you could order just the wind screen by itself. I learn something every day.

So it was one hangar, good friends, good food, good conversation, and a mind blowing awesome experience to see flying RVs and RVs under construction all in the same place. It certainly had an airplane factory feel to it. Now I just need to get back to pounding some rivets! All for now.

Wednesday, December 16, 2009

Found my paint scheme!


I would be remiss if I did not include a picture of an RV-8 called Nifty. This is extremely close to the paint scheme that I invisioned for my aircraft. Luckily I found a pic of one that is already flying. I will have some different trim details, and nose/tail art on my aircraft, but this is what I had in mind for the most part. I found this on the RV-8/8-A forum on Vans Air Force. This is the most concentrated gathering of RV aircraft folks on the planet, and a great source of information for those interested in building and flying RVs.

Saturday, August 29, 2009

Paul I P51 Paint Scheme - NICE!


So here is Paul I - Founder of EAA Paul Poberzny's personal aircraft. It is P-51 mustang (Actually I think the museum history points out that this aircraft went through some changes in designation frm an F-51 to a P-51 and back to an F-51 again. Anyway, this is very close to the paint scheme I have decided I want use for my aircraft - except for the yellow. If any of you have suggestions about the color for the nose,OTHER THAN yellow or red, that would pop well with the sky bue and the gray, then letme know. Oh, the nose art has also been decided upon, but I am going to keep that to myself until te project is completed to keep it a surprize.
I'm currently trying to settle on a primer solution/method so I can begin the tail construction. There are many different methods to choose from,which makes this decision all the more difficult to make. Epoxy or Etching primer, anodizing or leaving it all alone to save weight - UGGGHHHH!
Anyway, I am scheduled to attend a sheet metal class up in Broomfield, sponsored by the EAA, during the weekend of Sept 12 and 13. The more practice I can get, the better it will be for my project. Picked up some blue and gray paint that closely matches the color on Paul I, and I will use this to finish the paint job on my tool box. Matching plane and toolbox - what a concept!