Showing posts with label Flying RV 8s. Show all posts

Wednesday, May 31, 2017

Deburring holes and edges, scuffing ribs and LE skin for primer

 First things first - a shout out to fellow RV-8 builder and friend Steve Riffe, now living/flying in the Dallas area. We started our tail kits at about the same time in 2009, and he just received his airworthiness certificate for his finished airplane. N ow he can take his first flight and continue with phase 1 flight testing. See post on VAF here , and his builders log is at this location 

Its really great to see another soon-to-be-flying RV-8 make it to the finish line. Way to go Steve!!!!

Over the past several days I have been taking care of several small jobs. The first involved more trimming of the Left wing LE skin edges for the new access panel. I discovered that one of the edges was decidedly not aligned with the corners and was not straight. So I took a straight edge ruler and marked "straight" with the sharpee, and then carefully took the file and trimmed down the metal, being careful not to dig any more ridges into the skin. This next pic shows the result:

If you click on the above pic and view it in a larger resolution and look at the left and right edges you can see the problem. What happened is I filed away a little too much metal on the skin edges. leaving a small gap between the access panel cover and the edge of the LE skin.This happened because I forgot to stop filing after reaching the INSIDE edge of my sharpee line. Instead I kept on filing until the sharpee line was almost gone. Even the ultra fine sharpee can leave at least a 1/32 or 3/64 inch wide line, so you have to remember where to stop removing the metal.

Here is a close up that shows the gap better:


The funny thing is that this gap is much smaller than the Vans access panel and cutout for the original access panel LE skin. I think I have seen posts from other builders where they actually fabricate a new panel cover so that it fits better. Perhaps I will do the same, but for now I will leave it. I still have a lot of surgery to do to figure out how to close up the original hole, and right now that is just a bit more important.

Next is a pic showing the vinyl that I removed from the tip of the LE and the outer races for the rivet holes for each LE rib.

As I mentioned before, I am pretty certain that leaving the interior and exterior vinyl on the pre-bent edges of any skins applies a bit of extra force away from the wing ribs, making them just a little bit harder to bend into position when assembling the ribs. If you remove the vinyl from this area it reduces that stress a bit. Works for me. YMMV.

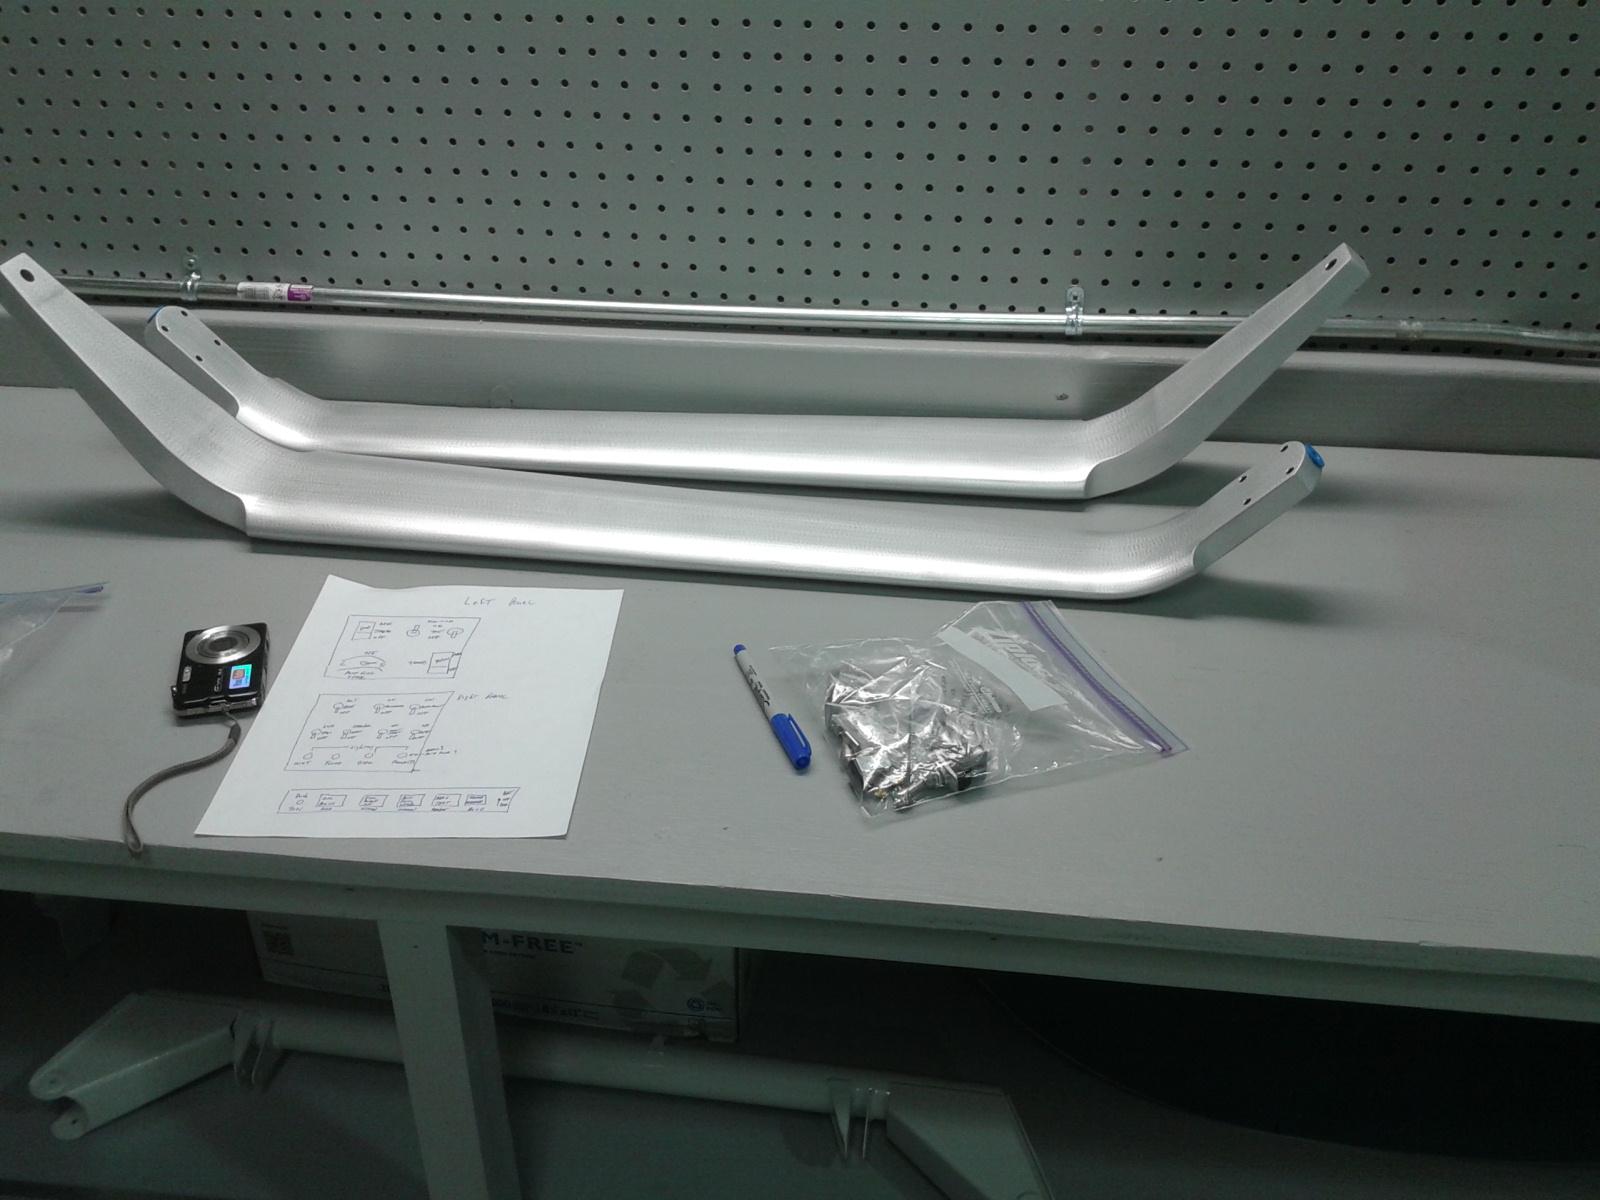
With the LE ribs completely disassembled I starting scuffing them in preparation for primer. I still need to clean them, but at least the hard part is done:
A couple of important notes about this for other builders. even though I took the time 2 years ago to use a small jewelers flat file to remove the bumps that result from the factory bending of the tip sections of each rib, I found that all of the ribs still needed to be filed a bit more. You can see the file I used in the middle of the above pic.

I made sure I rechecked all of these on each rib, because I was surfing the web one day and found a PDF file link to what I presume to the the new Section 5 of the Vans manual for the RV-14, which is much more informative and contains a lot more tips and tricks than my older Section 5 contains. One of the sections specifically called attention to making sure you do whatever is necessary to remove ALL bumps on the front of all leading edge and fuel tank ribs to prevent bumps from appearing in the skin when you start riveting everything together. they even had pictures and diagrams of how this should look.

My litmus test for this is a little bit visual, but mostly by feel. I ran my fingers over the tops and bent sides of each cutout on each rib, and if my finger gets stopped by a ridge, I went to town on it with the file until is felt reasonably smooth. I was surprised by how much more I had to dress these edges out until I was satisfied that they were smooth enough. It will shock you just ho much you need to thin down the edges of some of these sections. don't be bashful about this trimming if you don't want bumps in your LE wing skins after riveting.

I should have mentioned that prior to scuffing everything I deburred all the rivet holes in each LE rib. I honestly do NOT think I had ever deburred any of these holes in the remaining ribs, while i definitely deburred everything involved in the area of the mod that I am doing, I don't think the LE holes had ever been disassembled beyond that. I was amazed at how much some of the holes needed to be deburred.

One of the hardest things I had to do was deburring the inside of all the rivet holes that attach the top and bottom of the LE skin to the wing spar. The outer holes were easy because they are right in front of you, but I must admit I was not prepared for the need to do all of the inner holes. These were a pain for several reasons:

- They are hidden under the wing spar flanges so you have to bend and contort your body in weird ways to get to them all.

- With one side of the main wing skins clecoed in place, I was not able to get my electric drill with my deburring bit into position to debur one side of the holes. The other side was easy because the wing skin was removed. While I suppose I could have removed the mounted wing skins, I did not want to do this because they do help maintain the structure and placement of the frame. So I took the deburring bit out of my drill as I have done before, and twirled it between my fingers, while contorting myself even more while trying to blindly fit the tip of the bit into each inside hole. Easier to demonstrate than explain, but lets just say it was a major pain in the butt, and it leaves my fingers in a rather raw state after doing this for about 100 holes or so. Anyway, the wing spar holes are now deburred as well, so mission accomplished.

Here is a pic that kind of shows the area that needed to be deburred. I only focused on the top row of rivet holes for now, since those are the holes for the LE skin. I will have to do the bottom row of holes when  am ready to finish prepping the main wing skins, but that can wait.

And then finally, after a bit more precise vinyl removal on the inside of the LE skin, I started scuffing the inside of the LE skin. What follows is a series of pics that shows the overall scuff job of one side, and what appear to be rather deep scratches from all the mod work and fitting, installing and removing parts multiple times, and how those scratches seemed to scuff out pretty well with the scotch brite pad, indicating that the scratches were probably only as deep as the alclad coating of the metal.

And finally, since I will be priming another small batch of parts in the near future, I needed to get two more turkey basters to measure out both parts of the primer, just as I did a few weeks ago. Here is the uncontaminated "new" turkey baster that I got from King Soopers.

Next steps are to finish scuffing the other side of the LE skin, then wash and clean the ribs and skin, then prime them. Once that is done I will reassemble the LE and attach it on the wing spar so I can mark up the subskin for the new access panel opening and start trimming that lovely piece of metal to its final form, whatever that may be!

KPR!


Sunday, April 21, 2013

An Exhausting Weekend at SportAir Workshop

So comes gthe end of my vacation week. What better way to do that than to attend another weekend SportAir Workshop held by the EAA at RedStone College near KBJC. This is a very well known School for Aircraft Mechanics. This time the class was for Composite Construction techniques, aka fiberglass, carbon fiber, and other materials used in aircraft construction. My main focus for attending this class was to determine what I can use to fabricate the fake machine gun farings for the leading edges of my wings. Many of the others in my class were from the boating or race car genres, and others were building aircraft completely out of composite materials by using plans and not kits.

This class, as with all of the other classes, provides invaluable information, and for the $350.00 price tag you need to soak up as much of it as possible. There are at least 2 or 3 more of these classes I intend to take in the future, including, welding, firewall forward, and maintaining your aircraft. These will come later on, but for now I will add this latest class to my existing list of attended classes, including basic sheet metal, RV construction techniques, and Electrical systems.

While there on Saturday Mike Rettig (attending the electrical class) and I stopped by the hangar where the builds for Bob Markert (RV8) and Sean Thomas wage on. Sean has now passed me up and is working on his fuel tanks. I got to see some Proseal action in progress, so that was good. I learned from him to use a technique where I will use a scale that can read in gram units to measure out the proseal by measuring the correct amounts for each of the two parts of this stuff, then mix together in a separate cup, then take a plastic bag and place the mixture inside it, and then cut abottom corner out the bag, and using it like a cake frosting decorator, squeeze the mixture onto an appropriate syringe, which I will then use to apply the proseal in precisely the areas that I need.

Bob Markert is still wrapping up some wing stuff and working on his fuselage. It is great to see both a completed RV8 (Jim gray), and Bobs fuselage under construction, all in the same hangar. I took some additional photos of Bob's planned parking brake mechanism, ELT mount, access door for back side of the avionics bay, and his static port assembly. One other item that I was not aware that he was going to add was a prefabricated removeable Smoke Tank, which I also intend to install on my aircraft. Jim Gray also has this same tank for his aircraft, so I will have lots of knowledgeable folks to ask questions about all this when the time comes.

First pic is of Bob's Fuel Pump assembly. taken from the front of the firewall looking down from the top. The issue with this little assembly is about the tight space with which to make bends in the fuel lines. Bob spoke about providing bends in the line to provide some flex capability, which apparently does not exist if the lines are left too straight. Not sure I understand all that yet, but in time I will I am sure. Wow, those sure are some tight 90 degree bends.


Next shot is of the parking brake assembly. That is all I know about it at this point, but I plan on putting one on my plane so I will be paying close attention to how Bob does his. This was taken from the front again looking rearward:


And now from the cockpit side:


Next is the smoke tank. There is another version with a smaller tank that I think that Sean said he was going to put in his plane, and I may end up doing the same, but this is a typical full size tank that is used for those that are so inclined.


Next is Bob's Static source plumbing in the back of the fuselage. I ahve the fittings for all this already. Just need a fuselage to mount them on!


the last two pics show the Adel clamps and nuts/bolts used to atach everything to the bulkhead.

NOw on to the sport air composites class. I managed to get a few pics of some of the activity today. We learned how to use a bagging technique for vacuum forming that allows the parts to cure more quickly and also provide a much better finish by extruding all excess epoxy from the parts during the process. THis was very cool to witness, but it does involve some tools and know how in order to do it correctly.

First is instructor Scott Vanderveen getting ready to place some NACA vents fabricated from clay molds under the vacuum. There were about 14 of us in the class, so doing all of these at the same time presented some challenges.

The blue plastic is a self adhesive vacuum bagging vinyl material with some double sided sealing tape applied to the bottom layer. The red stuff on top of each part is a perforated teflon coated release material that allows excess epoxy to be extruded and separated from the parts.


Next is a heat pamp area and our primary working table where we made all are creations come to life. For the class you will make a canard airfoil section with a spar cap and foam core, a polystyrene foam and fiberglass sandwich that later becomes a partial wing spar assembly, and the naca vents shown above.


Next is the modeling clay that is used to form molds. You can apparently get this from Hobby Lobby locally. Sounds like time for a trip to the hobby store.


Next is a pic of what I think is just bed batting material that you can get from Joanns or any fabric store. this is used to help maintain a constant temperature while under the vacuum.


then the top layer of the bag goes down, and theother side of the tape, which actually resembles the clay or caulk, is exposed:


Then some pics of the vacuum pump assembly and process:


And finally the pump turned on the vacuum being applied:


And lastly, once the vacuum started working we had to try to massage the top of the bag around the parts. Mine did not turn out so well because the vaccum did not apply evently around the part and I could not get the wrinkles in the bag totally removed.


what I got most from this class was the confidence to be able to to acquire some supplies and create some mock ups from which I can fabricate my own machine gun composite parts. It will be a lot of fun, albeit time consuming, to fabricate everything and seee how it turns out. Totally worth while and highly recommended if you are even thinking about building an airplane.

To be continued.......

Monday, January 14, 2013

Wing spars relocated back on the work bench

As part of my ongoing major re-organization effort of the garage, I managed to clear off enough space from the work benches to allow me to move the spars from the shelf on the wall to the benches. I had not seen them for a while, and it felt good to get them down from "storage" so I can start match drilling ribs and skins and such.

The only problem I encountered whne attempting to move them from the shelf to the bench was that all of the parts that were stored on the shelf had been buried by almost 1 inch of shingle remnant when the jerks put my new roof on the house. THey did a great job cleaning up around the perimeter of the house but nobody even mentioned anything about checking and cleaning up my garage. This really pissed me off, but at the same time I realized that this was mostly my fault for leaving them "in harms way" adn not covering them with a tarp or something. I guess I just did not expect to ahve that much crap fall down into the garage.

IN any event, it looks like I was able to vacuum up most of the stuff, but this kind of thing always makes me nervous when I start thinking about all the little pieces tht may still be buried underneath the metal that will not show their ugly face until the vibration from the finished plane finally jars them loose, adn then who know what crevace they may find to deposit themselves into that end up affecting a critical flight control or something.

Here is the first of several pics - lovely shingle crap and sawdust all over my left elevator, and most certainly inside the bay where the electric servo and linkage  goes - the one place that I really don't want to have any of this crap in my airplane, where it can be fatal if something goes wrong.

Edit - and a happy new year to me!! Turns out that blogspot has had problems with uploading images apparently since clear back on January 4. Smells like a virus or even better a ploy to push users away from IE and onto Google chrome or Firefox browsers. Having recently had problems at work with Firefox's latest release, I am now leary of downloading anyone's browser. That said, it does seem that Firefox v 17.0.1 does not have the problem that IE does (do NOT under any circumstances install Firefox v 18.0 - very bad!).

Anyway, to continue - here is the pics of my roof debris covered airplane parts, starting with the left elevator:

Next is the rear spar:


And on a happier note, here are the main wing spars back on the bench. Unfortunately, my HS is still on the table in front of the bench, and I need to finish up some touch up work on the HS so I can hang it back up on the wall to free up the table so I can start attaching ribs - it just never ends.


Still dealing with another deep freeze that has put the stops on anything in the garage. Now working on the cleanup of the benches in the basement - getting tired of living in the junk heap of a house. Almost ready to break out the two fire pits that I own and start some serious burning!

And finally, this is better late than never I guess. A couple of weeks ago I attended a hangar party up at KBJC for a gathering of RV folks across the state. Compliments to Bob Market, who owns this awesome hangar which will soon house Ron Duren's RV-7. I met several people that I had never met before, and made some new friends along the way. Here is a list of things that happened up there:

1. Got a close up view of Sean Thomas' Metal Wing stands. I will post some additional pics of that in another post, but here is a teaser pic for now. Sean is doing a great job.


2. Finally got to see Sean B, who had some very bad luck last summer after his house, and nearly completed RV7 were lost in a large fire near Colorado Springs. It was really great to see him and to find out that he is actually back to building another 7 again and doing his best to put the fire behind him. Kudos to you Sean. I admire your intestinal fortitude! KPR my friend.
3. I got to meet Jim Gray, owner and builder of the 2010 grand champion homebuilt award at Oshkosh for his beautifully finished RV-8, which was finished in the colors of the Jolly Roger Squadron seen in so many movies, including Top Gun and GI Jane. I took a ton of pics and got to pick Jim's brain for some building tips for such things as the forward baggage door, etc.


4. As if that was not enough, I then got a chance to talk with Bob Markert, who is now working on his fuselage. Get ready for alot of green - I just love the color of the primer he is using:

Note the mockup of the instrument panel - alot of Garmin goodies going in this one. He also has a rear seat throttle that I am also considering putting in the back as a safety feature more than anything else. I am NOT going to put the rear rudder pedals in mine - too many stories from other folks about ineffective control and uncomfortable foot position for the rear seat occupant. here is the forward throttle quadrant  - very similar to what I am going to do.


And the rear throttle:


And here is shot of an improvement over the stock landing gear provided by Vans - Grove lnding gear struts are made from one piece leaf spring steel (I think), and they are designed to carry the hydraulic brake fluid inside the actual strut instead of from a separate brake line that is typically strapped to the the landing gear strut. These also serve to eliminate the need to make fairings for the landing gear legs since they already come aerodynamically shaped.


And finally a shot of one of the auxiliary fuel tanks that fit at the tip of each wing. These are from SafeAir and are very expensive (about 1500.00 for the pair), and they give you about an hour of extra fuel. I plan on getting the bungle kit which is simply the fuel line fitting that is added to the main fuel tank which connects to the fuel line coming from the aux tank shown below. I will simply cap this off for potential future use shold I decide to add the aux tanks at a later time. Part of the tank fits inside the wing tip (bottom of pic), and the rest of it (long tube) fits inside the lightening holes of the outer wing ribs. It was very cool to see these up close.


Then Bob showed me a custom windscreen that he ordered from the same company that makes the canopies for Vans. The stock canopy comes molded as one full unit that must be cut and trimmed to create the wind screen and the separate bubble canopy. I had no idea that you could order just the wind screen by itself. I learn something every day.

So it was one hangar, good friends, good food, good conversation, and a mind blowing awesome experience to see flying RVs and RVs under construction all in the same place. It certainly had an airplane factory feel to it. Now I just need to get back to pounding some rivets! All for now.

Wednesday, December 16, 2009

Found my paint scheme!


I would be remiss if I did not include a picture of an RV-8 called Nifty. This is extremely close to the paint scheme that I invisioned for my aircraft. Luckily I found a pic of one that is already flying. I will have some different trim details, and nose/tail art on my aircraft, but this is what I had in mind for the most part. I found this on the RV-8/8-A forum on Vans Air Force. This is the most concentrated gathering of RV aircraft folks on the planet, and a great source of information for those interested in building and flying RVs.

Monday, May 11, 2009

My first ride in an RV 8 - Kick Ass Fun Complements of John Loretz


And here are some pics of a local RV 8 that I actually flew in. It is based at Centennial Airport here in Denver, and it was one of the funnest, shortest flights I have ever had in my life. Did I forget to mention that this airplane is fully aerobatic. 20 minutes on 4-2-2009 is all it took to convince me that this was the plane for me. Many thanks to John for putting the RV grin on my face!
The instrument panel is just as beautiful as the exterior of the aircraft. This one lives out in Georgia and is known as "Miss Sue."


OK, so instead of a bunch of boring pictures of my garage, I decided to include a couple of pics of an actual flying model of the aircraft that I am about to start building, the VANS RV-8. I found this airplane while searching the archives from the Vans Air Force website. The paint scheme and panel layout are very similar to what I hope to build and fly.