Saturday, June 7, 2014

Can you guess what this is?

Had a bit of a surprise this afternoon while I was outside going over some car-related info with my son Adam who recently received his Colorado Driver's license. (Way to go Adam!)

It looked something like this:

While I was busy going over the finer points of jumper cable operation with Adam, he suddenly looked up to see what the deep droning noise was coming from the north. He then said - Isn't that plane flying a little low? Not hearing the engines I looked up and for a split second I agreed, and I thought we were looking at an airplane in trouble, heading right for the house! But then my attention focused on what has become a familiar sound to me over the years, and I realized that this this had to be Aluminum Overcast - the EAA B-17 back once again on its annual pilgrimage around the country just before Airventure arrives on Oshkosh Wisconsin in July.

BTW, the above pic does not do the airplane justice, because it WAS flying very low almost directly over the house. I became less worried when I realized that I could hear all 4 of those wright-cyclone engines purring along just fine, and it was maintaining a constant altitude. I assume it was low to avoid the low overcast ceiling that has invaded the Denver area over the weekend.

I am blessed to live where I live, because the path directly over my house is a natural navigation point from south to north for everything from jets flying over mile high stadium before a Bronco game, to Aluminum Overcast and a whole host of other historic warbirds that occasionally fly almost directly over the house. The bird should be here for the next 2 weeks giving rides and promoting EAA. And all this on the heels of the 70th anniversary of D-Day. I certainly paid my respects, and I hope you all did as well. I will NEVER forget.

Now back to the airplane project.....
I spent time today getting the top skins of the left wing installed after deburring both sides of the rivet holes in the skins, as well as both sides of the holes in the top half of each wing rib. Deburring the back side of the rib flanges has to be one of my top 5 least liked things about building an airplane, because ready-made power tool can get into that location to do the job. I had to take my deburring bit and debur all the back side flange holes by hand.Getting in between all those inboard ribs that are very close together was  a pain.

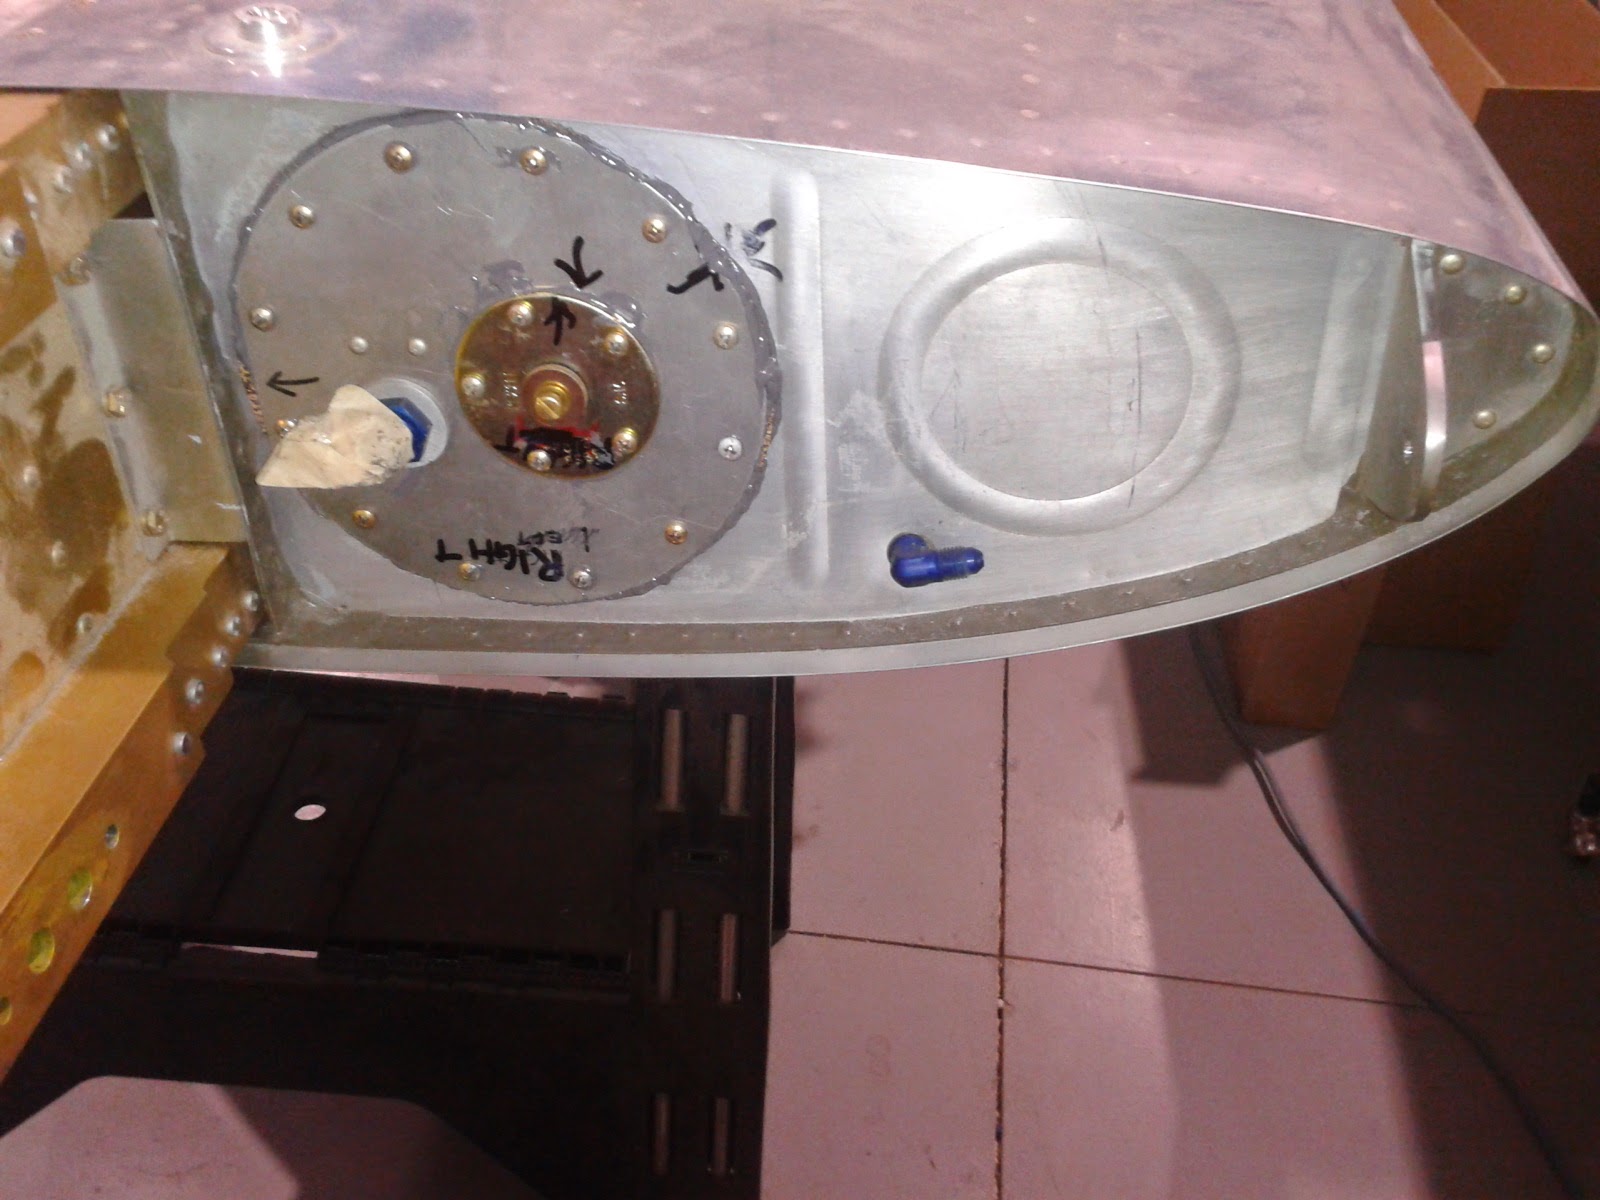
Prior to re-installing the skins on the frame, I vacuumed out all the tiny remnants laying on the trailing edge from all the drilling. With the top skins back on I could now remove the bottom skins and begin the process of removing vinyl and deburring all those holes. Here are a couple of pics of the bottom skins after the vinyl was removed.

I removed the vinyl from the joggled areas for the inspection plates so that I can prime those areas continue to drill out the holes for the nut plates that will eventually need to be installed. I also deburred the edges and corners on the wing walk doubler since those were still pretty rough. Tomorrow I plan on removing the vinyl from the larger outboard bottom wing skin and beginning the deburring process. Then I'll get to do it all over gain for the right wing. (UGGHHH!).


Thursday, June 5, 2014

Busy working on the second "D" of the 3D process

Nothing too exciting to report today. I managed to get the vinyl stripped  on the top wing skins of the left wing (both front and back sides). I decided I would go ahead and work on the second D of the 3 "D"s - you know the DEBUR part! Man I feel like I have deburred about million holes - and those were just both sides of one side of one wing - man sometimes it just seems like it never ends. I am now starting to understand why builders are so happy to finally start working on the fuselage kit - no more ribs to straighten or other airfoil-related surfaces to deal with.

As long as the vinyl stripping and deburring continues to go well, I expect to be working on the leading edge by next week. Need to order some parts from Vans to incorporate the necessary mods for the special project.Priming and dimpling the wing skins is not too far down the road either.

Also saw that Ron Duren picked up his newly painted bird from GLO systems in Texas yesterday- I am sooooooo jealous!

Sunday, June 1, 2014

Removing wing skins and stripping vinyl, and pics of recent visit of two almost completed RV projects

I removed the top outboard wing skin of the left wing and began the process of stripping the vinyl. After the drilling is over you kind of start to dread the deburring part a bit because this must be done on both sides of the skin. SO there are a total of 8 separate wing skins for the top and bottom of both wings(4 per wing), but you have to debur holes on both sides, so that is all the holes on each wing skin times 2 for the front and back. Then you have to debur the holes in the rib and spar flanges - again that is also both sides of each of those. If you focus too much on the large number of holes then you can become overwhelmed sometimes, so it is best just to get started and see how long it takes to get through a certain number of them. Then you will know how long it will take to do the rest of them. When the time comes dimple the skins I will take my time to ensure that I do not create any figure 8 holes in the skins.

Anyway, here is one side of one wing skin with the vinyl removed. The new soldering iron worked much better, but it was not perfect:
Next is another important pic. When you remove the skins, you realize just how much material was removed during the match drilling exercise. The silver speckles are the chips of aluminum. These all need to be removed.
And then I took this pic of my makeshift movie night movie screen. It was such a nice weekend after having been such horrible weather around here for the past several weeks that I just felt compelled to get out the king size bed sheet and use some of my clamps for something other than mashing metal parts together. I rig a projector on the opposite end of the garage and connect that to my laptop to show some movies every once in a while. Works pretty well. My seating capacity in the garage is a bit reduced with both wings on the stands, but it still holds a few folks.
Next are some pics I promised a while back. Thanks to John Tedder and Lyn Langer whose RV-7As are well on their way to becoming real flying machines. I am really interested in Lyn's aircraft because he has a 180 HP IO-360 from Superior with their extremely popular Millineum Cylinders. I just noticed on their website that they have come out with a 195 and 200 HP version that I can build myself by attending their 2 week class. I took a ton of pics but will include a few of them here.

Here is Lyn's engine:
And the rest of the aircraft. I can't wait until mine is looking like this someday:


John had his wings off while he works on his avionics. I checked out his wing wiring, fuel tanks, and landing light installation....
NOthing beats seeing things assembled up close. If you get these opportunities you need to take tons of pics because they will help later. I captured most of Lyn's fuel system routing from the firewall to the fuel servo to the injector manifold and out to the cylinders. Perhaps I'll post some of those pics later on.

All for now. I hope to have all wing skin and rib holes deburred by the end of this week.


Saturday, May 31, 2014

Completed match drilling holes in main wing skins

I'll start this post with a quick pic of the new overhead light that I described in my previous post that was mounted to the underside of the shelf:

Since I finished match drilling all the main wing skin holes to the spar and the ribs on both wings, the next step will be to remove the skins and debur ALL the holes. This also means that it is time to remove the vinyl by using the wonderful soldering iron method once again. At this point I was tired of having problems trying to get anything from a 25 watt to a 40 watt soldering iron to generate enough heat to melt the blue vinyl coating on the metal. It just would not heat up the vinyl enough to melt through it the way that it should.

So I trekked off to HD aviation department and found this new 60 watt iron:

Just as I have done with other irons before, I used my scotch brite wheel to remove the sharp point which will scratch the aluminum very easily if left "as is." Then I took some 320 aluminum oxide sandpaper and smoothed the tip. Then I took what I think was a trim bundle piece that came with the wing kit and ran some tests to determine if the iron would melt the vinyl better and that it would not scratch the aluminum. It was successful on both counts. Finally I think I have an iron that will do the job easily. I then did some of the rib sections on the left wing, but determined that trying to do this with the skins on the frame with all the clecoes in the way was not the best way to go. So I will remove the skins and finish the vinyl stripping that way.
Next I wanted to show a pic of the area where the inboard and outboard skins overlap. This pic looks down from above the spar where the skins meet the spar flange, and shows the bulge that occurs in that area. the skins also also butt up against the fuel tank skins, and the overlap creates an ugly mismatch in the joint between all of them. This of course translates into additional parasite drag, and so the area is supposed to be trimmed down so that all the skins join together at a bout the same depth. It is referred to as a scarf joint. The drawings in the plans try to show what this trimming is supposed to look like from a couple of different angles, but I found that I just get confused about what I at looking at because I cannot figure out the orientation unless I stare at it for along time. Basically you only have to address the 1.5 to 2 inch square area where ALL the skins overlap at the main wing spar flange. Once the joint is trimmed down by reducing the thickness of the wing skins in that area, it should appear as though it is just one continuous thickness that should roughly match the same thickness of the fuel tank skins.


Monday, May 26, 2014

A couple more lighting improvements to the shop and continuing with drilling the skins

Thanks again to my niece's fiance Steve, who is a licensed electrician, I was able to add one more light fixture to the far side of my garage. I put in a 48 inch x 2 bulb T5 54 watt florescent fixture under my large shelf that held most of my larger wing parts all this time. I picked it up from HD after staring at it for a while and then realizing that I was almost blinded by the amount of light it was putting out. It really lights up the entire bottom side of my right wing, as well as the band saw.

Steve hard wired it to an existing light socket and switch, and now that area of the garage is completely illuminated. Now I just need to figure out how to heat the damn thing during the winter months. The holiday weekend was literally a "wash" in that we were inundated with heavy rain, wind, hail, and tornadoes. Heck, a pic of the street in front my house even made it in the Saturday newspaper with a huge funnel cloud over the school right next to my house. Scary to think that came that close to losing the house, and even more disconcerting to think that I almost lost everything I have put into the airplane. Luckily the funnel dissipated and the clouds wondered on to the north.

So not much time was spent working on the wings, except that I did manage to finish drilling the bottom left wing skins. I spent some quality time vacuuming the shop, since I had not done that in a while, and the debris from cutting and drilling the steel support brackets for the stands left my work benches covered in steel remnants. I also tried to follow another section of instructions from Vans that tell you to "draw a couple of lines on the skins that intersect the center of the holes from the wing tie down bracket."

The problem is this:
The main wing "skins" do NOT intersect the tie down hole. The bracket and the hole for the wing tie down ring are located at a point along the leading edge skins, NOT the main wing skins, and the main wing "skin" does not but  up against the leading edge skin in that location. Instead, one of the removable inspection plates is what actually butts up against the leading edge skin. SO the procedure should say to temporarily mount the inspection plate to the bottom wing skin, and take a straight edge to align the center of the tie down ring hole in the bracket to the inspection plate cover, as shown in the following pic:

The leading edge skin will butt up against the inspection plate cover, and the mark from the cover can be transferred to the leading edge skin. The LE also has a small pilot hole that was drilled very close to the access hole for the left wing, and I wondered what the extra hole was for at the time I was messing with the access hole cover plate support bracket. Now I know that this was intended as the starting point for enlarging the hole through which the tie down ring can be inserted into the tie down bracket. THe next pic shows the hole:


The idea is that Vans designed it so that the ring is removable and is stowed in the airplane to reduce drag. This hole is not an exact placement, since the position of the final hole for the ring depends on the accuracy and attachment of the holes drilled in the main wing spar and tie down bracket. Therefore you need to measure carefully and file this starting hole in the correct direction as necessary to establish the true center point of your tie down bracket hole. I'll have lots of vinyl removal and deburring and dimpling coming up, as well as leading edge prep work and some fuel tank prep work. Wow, I can't believe I am about to start prepping my fuel tanks already..... Very cool. I just wish Vans did a better job on their manual instructions for the wing section - pretty piss poor as I have said before.

Saturday, May 24, 2014

Finally done setting up the wing stands

All 4 bottom brackets are now bolted in place, and I have all 4 plumb bobs mounted from the next cleco inboard from the one on all 4 end ribs. I chose to suspend the fish line and plumb bob from this location so that I could keep all clecoes attached to the end ribs and allow the fish line to swing freely. I will use my square to obtain the necessary measurements to determine if I need to adjust the wing for any twist. I put gorilla tape on all bracket surfaces,especially the ones that will come into contact with aluminum and steel. A nifty chart I got from Cleaveland tools along time ago shows the compatibility (or lack thereof) of various metals. Aluminum alloy attach brackets are NOT compatible with steel, and will start to react/corrode if left in contact with each other for extended periods of time.The layer of tape between the 2 surfaces should prevent that from happening.

You can't see the steel bracket too well in this first pic, which shows the the two inboard ends of each wing clamped at the rear spar attach point. These are the ends that will be adjusted if there is any twist in the wing. You can also see the two plumb bobs suspended from the clecos at the main spar:
Next are the pics of the left and right wing outboard attach points with plumb bobs suspended.


Wow. Now maybe I can start drilling wing skins again for a change. I'm tired of drilling holes in 1/4 inch thick steel. Next time I'll have some pics of a recent visit to a hangar at KFTG last week where our EAA chapter visited 2 RV-7A projects that are very close to completion. John Tetter and Lyn Langer's aircraft are looking great, and I took a lot of pics from my camera phone of everything from fuel systems to landing light and fuel tank assemblies and fittings and more. Lyn also had a backup alternator on his engine. Lyn's engine is also one that I am considering to purchase from Superior in Texas, so I spent quite a bit of time examining that.

Recent wind and weather events here in Colorado also have me contemplating my decision to build a nose wheel or tailwheel aircraft. More later.

Tuesday, May 20, 2014

RIght WIng outboard lower wing stand bracket completed

Same measuring, cutting, grinding, fitting, drilling, as the left wing, and the lower bracket for the right wing is done. Everything fit just as well as with the other one, so am pleased with the way this one turned out as well. 4 more lousy holes to drill in the other stand for each wing to install the other brackets. The other ones will be clamped into place against the rear spar mounting flange after checking both sides for any twist.

Here is the shot of the right wing outboard bracket wide shot:
And the close up:
I had to grind down about 1/16 of an inch of the inboard section of the steel bracket as it was just a bit too close to the rib. All this means is that my measurements for the placement of each wing stand were a bit different between the left and right wing stands. Not a big deal. The 3/16 inch hole for the tolling hole in the rib was spot on, so my exhaustive approach to accurately transferring measurements from one part to another are paying off. I need to buy some more 2 inch steel angle to fabricate the remaining two brackets, and then I can get back to drilling holes in wing skins - FINALLY! These wings ain't goin' anywhere any time soon.